 Wingware
Autonomous Development with AI Agents

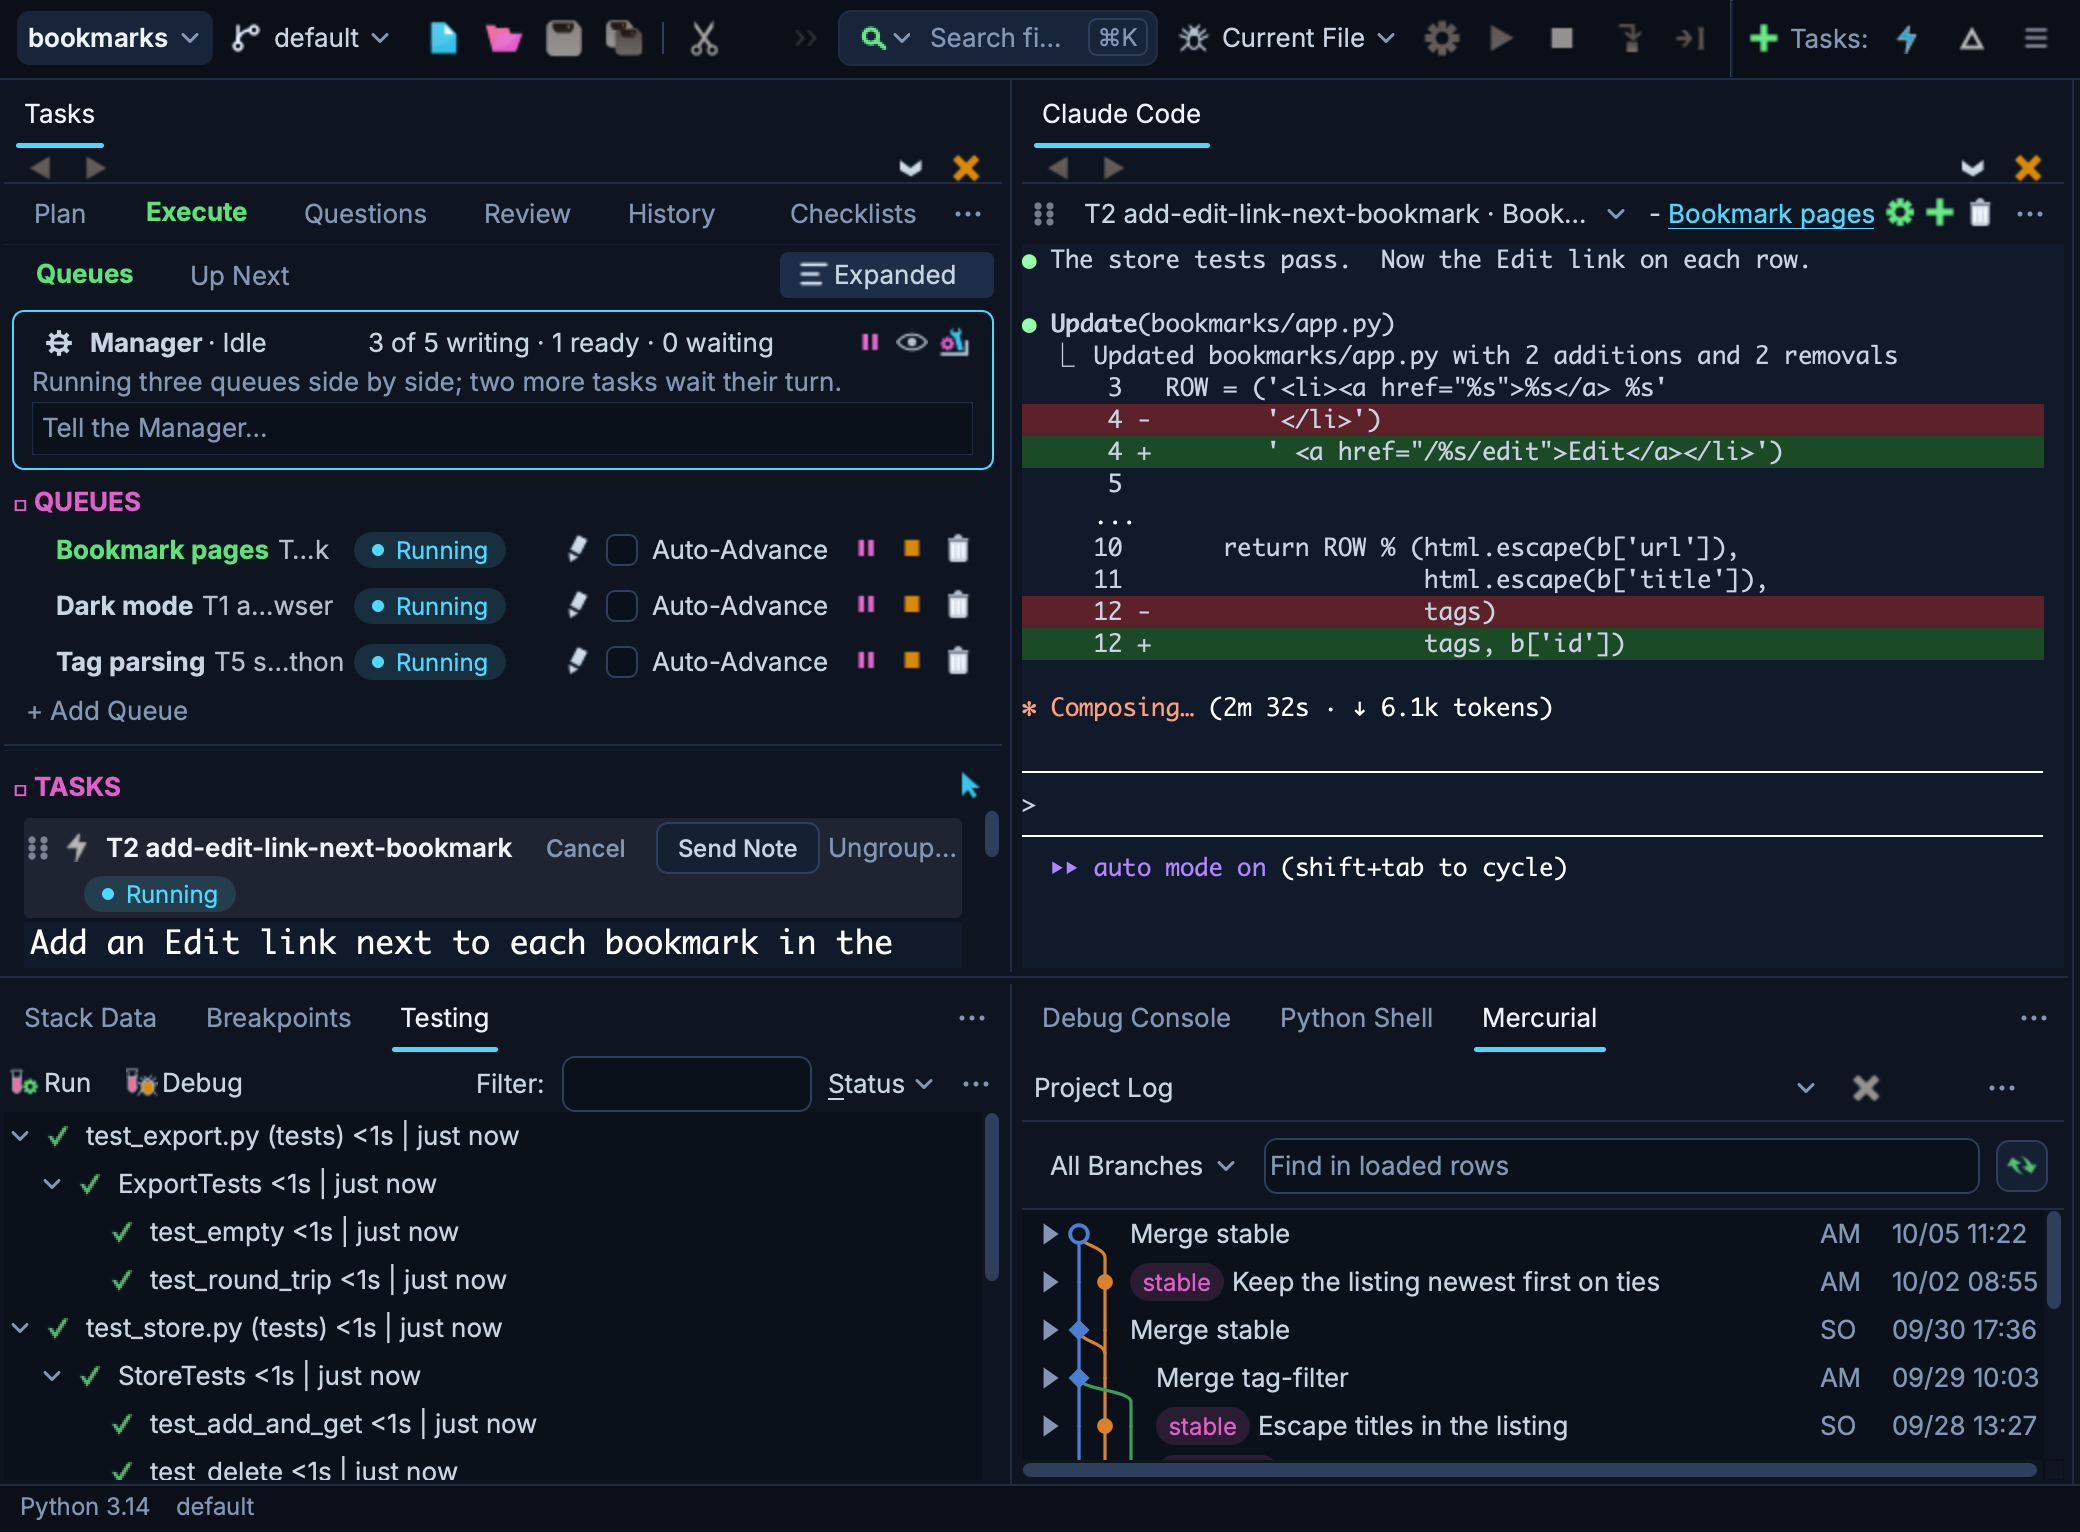
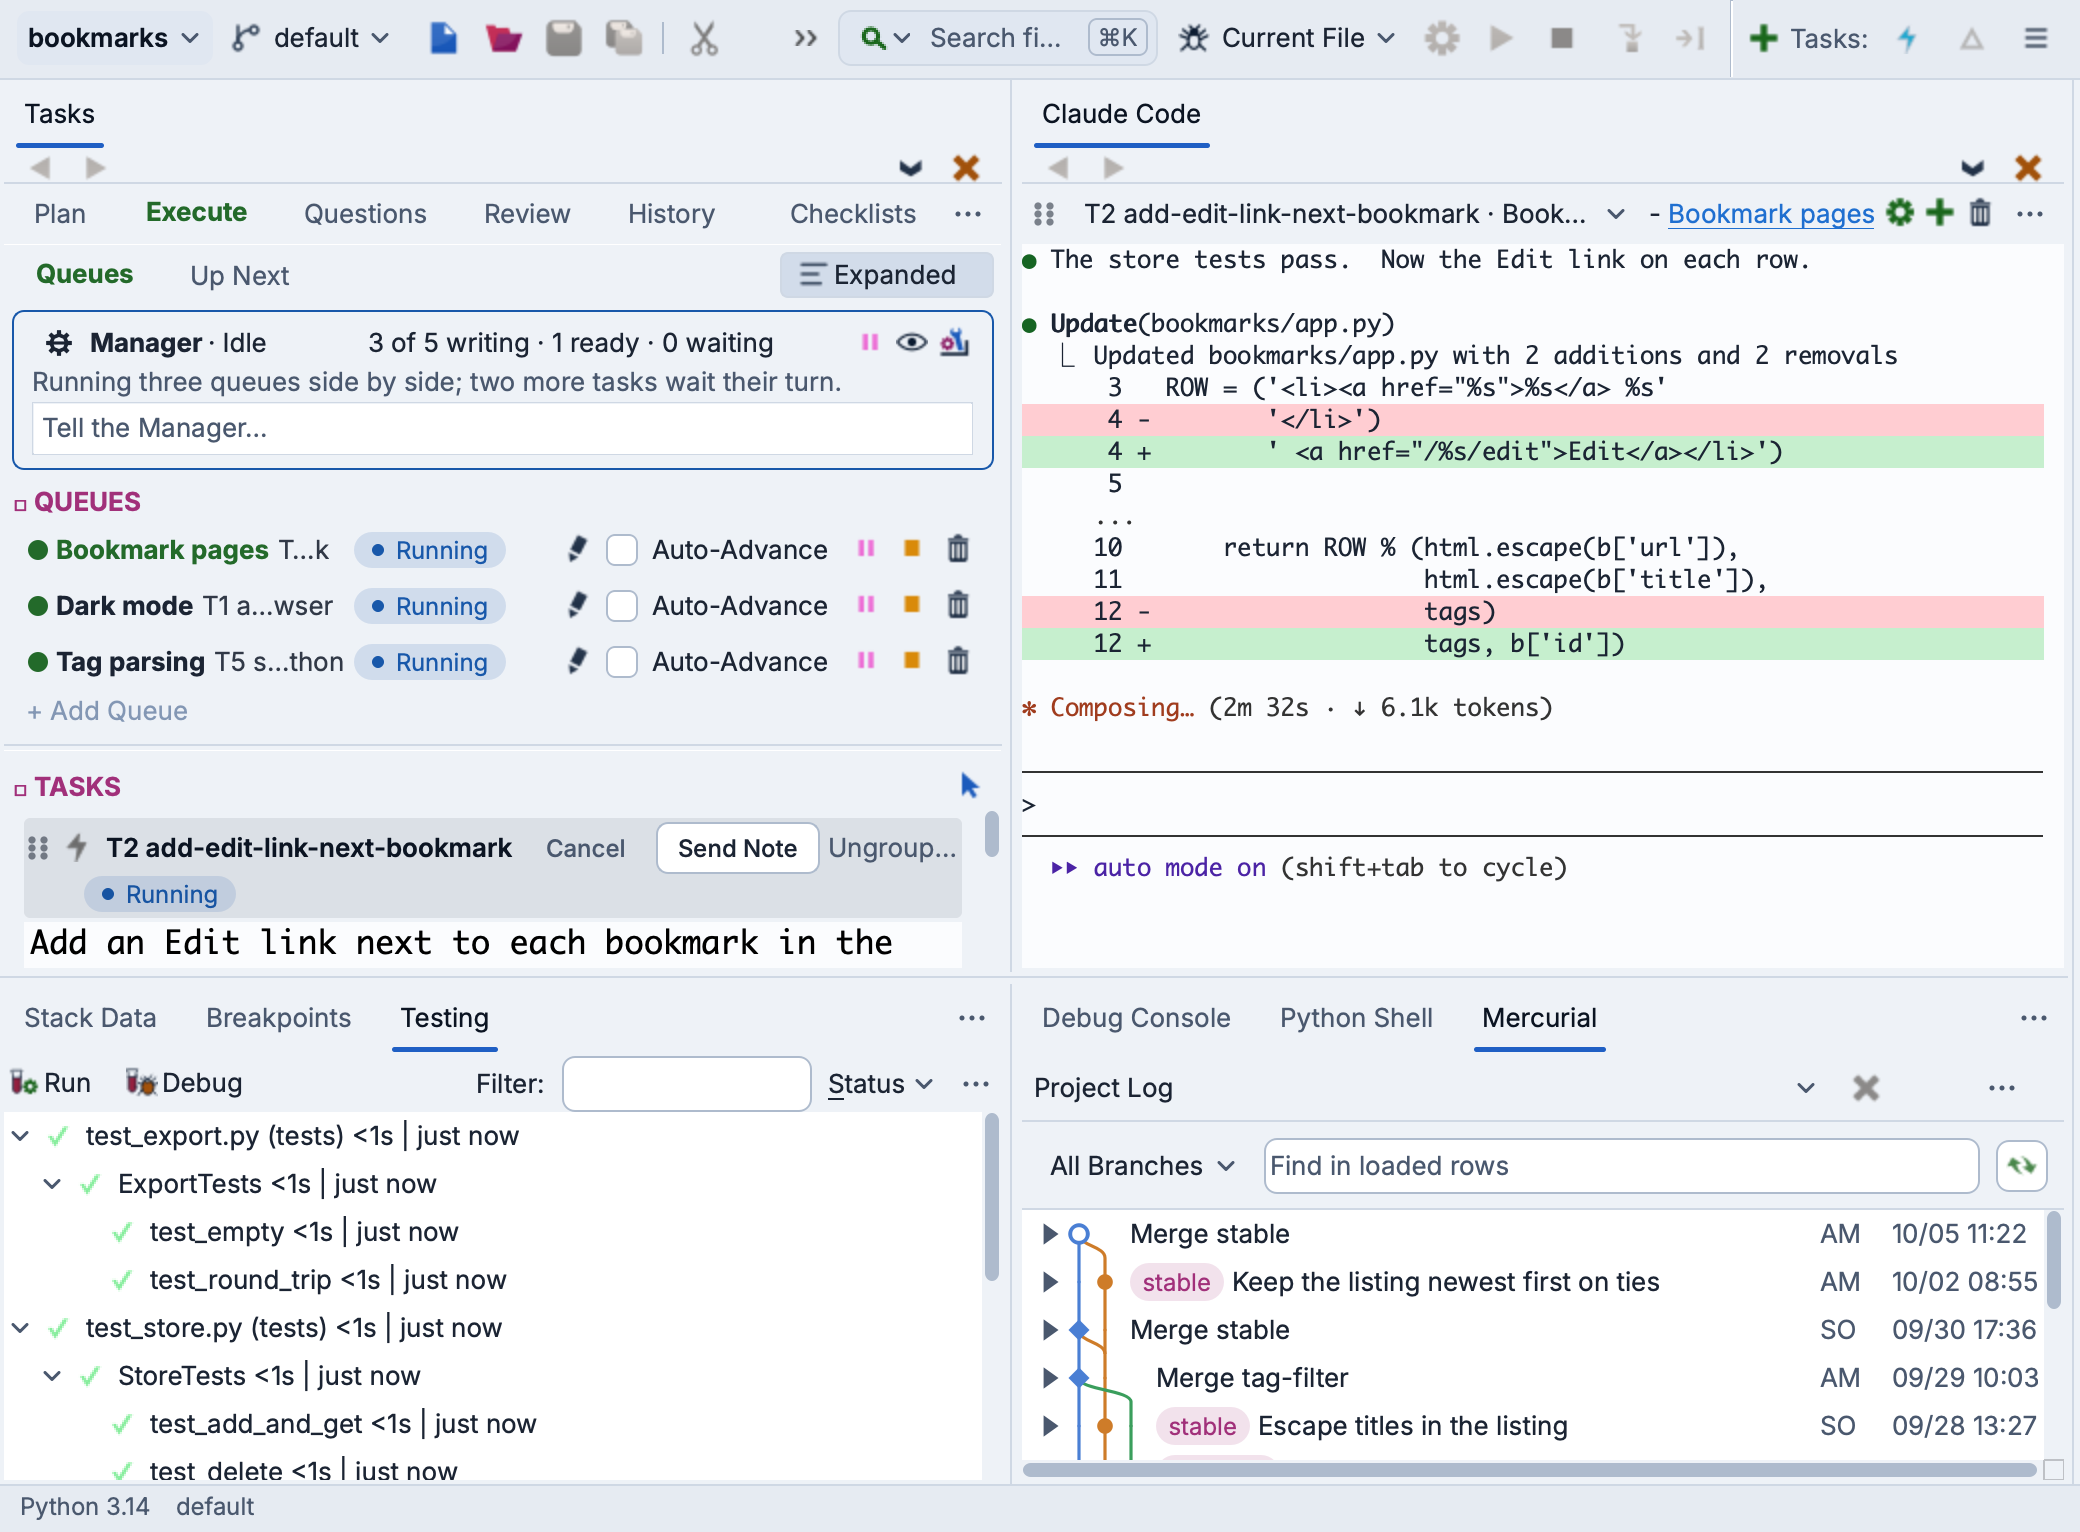
Wing Pro includes an autonomous software development system. You provide a high-level specification for a new product or a major feature. Wing's Tasks Manager fleshes out the specification, plans the work, splits it into tasks, and assigns them to a team of AI agents. It keeps the agents moving and on track for hours or days, as needed. The agents write the code, unit tests, and documentation, commit in logical units, and find and fix bugs along the way.
Instead of reading individual agent sessions, you answer questions and review results in one place, the Tasks tool. Each finished task reports a summary of its changes and the decisions made in it. You can look at the code and diffs for any change, but the task and decision summaries are often the better level at which to ask for revisions. Your job is to describe what you want, answer strategic questions, and review the finished work. You are the product designer, and the agents do the rest.
This document explains how to get started. It builds on Using Wing with an AI Agent, which covers the features that are the same whether or not the Manager is used. For a step-by-step walkthrough, see The Autonomous Tasks Manager in the Tutorial.
Getting Started
We recommend running agents in a reasonably isolated environment, such as a virtual machine. At the very least, agents should not be able to reach the keys to your server infrastructure, read sensitive data, or push to your main repository. Agents do not in general try to reach data or systems outside the scope of your requests, but these precautions matter most with an agent other than Claude Code or Codex. See AI Agent Safety for details.
To get started you will need to:
(1) Install an AI agent and set up an account for it that covers the amount of work you expect to do. For sustained use, a subscription generally costs much less than paying for usage with an API key. If your agent reaches its usage limit, Wing continues its sessions and the Tasks Manager once the limit resets.
Claude Code and Codex are best for autonomous development, since their Auto-Approve checks the safety of each step. Antigravity, Copilot, and Cursor also run the Manager well, but without those safety checks. goose and OpenCode are not recommended. The table in AI Agent Safety compares them. See Setting Up an AI Agent, and the how-to for your agent listed in Using Wing with an AI Agent, for how to set it up.
(2) Install a version control system, either git or Mercurial, if you don't already have one. Wing uses it to track, review, and commit each task's changes. If you aren't sure which to choose, use git. You don't need to learn to use it, since Wing and the agents do that for you.
(3) Install and start Wing Pro. See Installing Wing for details. On Windows, start Wing from the Start menu. On macOS, double-click Wing in your Applications folder. On Linux, choose Wing from your desktop's applications menu, or run wing12.1.
The first time Wing starts, its Set Up Wing dialog lets you choose a display theme, a keyboard personality, and your default AI agent. All of them can be changed later in Preferences. Wing then shows the Welcome to Wing window, which offers New Project..., Open Folder..., Clone from GitHub..., and your recent projects. Click New Project... and go on to step (4) below.
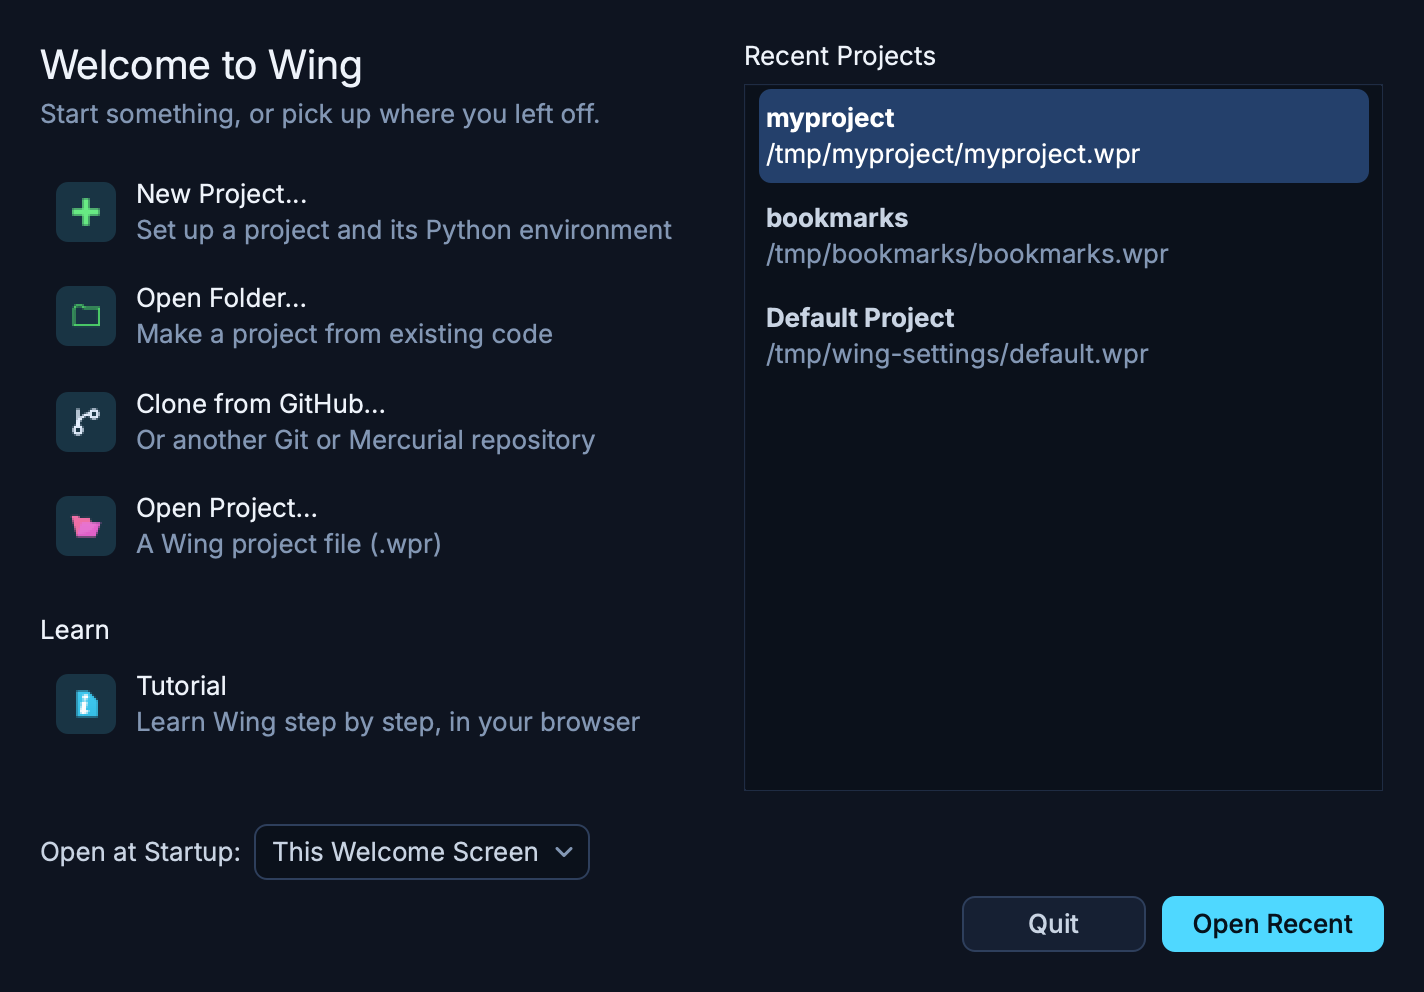
Once the project is created and Wing's window opens, Wing starts your free trial of Wing Pro automatically. No sign-up is needed, and by using Wing you agree to its license. If Wing doesn't find a supported version of Python, it offers to install one. Wing checks for updates the first time you start a new version, and offers to install any it finds, restarting once the update is installed. Check for Updates in the Help menu checks at any time.
(4) Create a new project with New Project... in the Welcome to Wing window, or later with New Project in the Project menu. The dialog opens in its Simple view. To start from scratch, choose New directory at the top of the dialog, enter a Name, and choose where to Create In. Under AI Agent, choose your agent in Set Up for AI Agent. Under Python, the default is a new virtualenv in the project's .venv directory, but you can choose another environment Manager such as uv, Poetry, pipenv, or Conda Env, or use Existing Env or Existing Python. Under Version control, leave Create a Git repository checked so Wing sets up version control for you. To put the project on GitHub, also check Publish to GitHub, which signs you in to GitHub if needed.
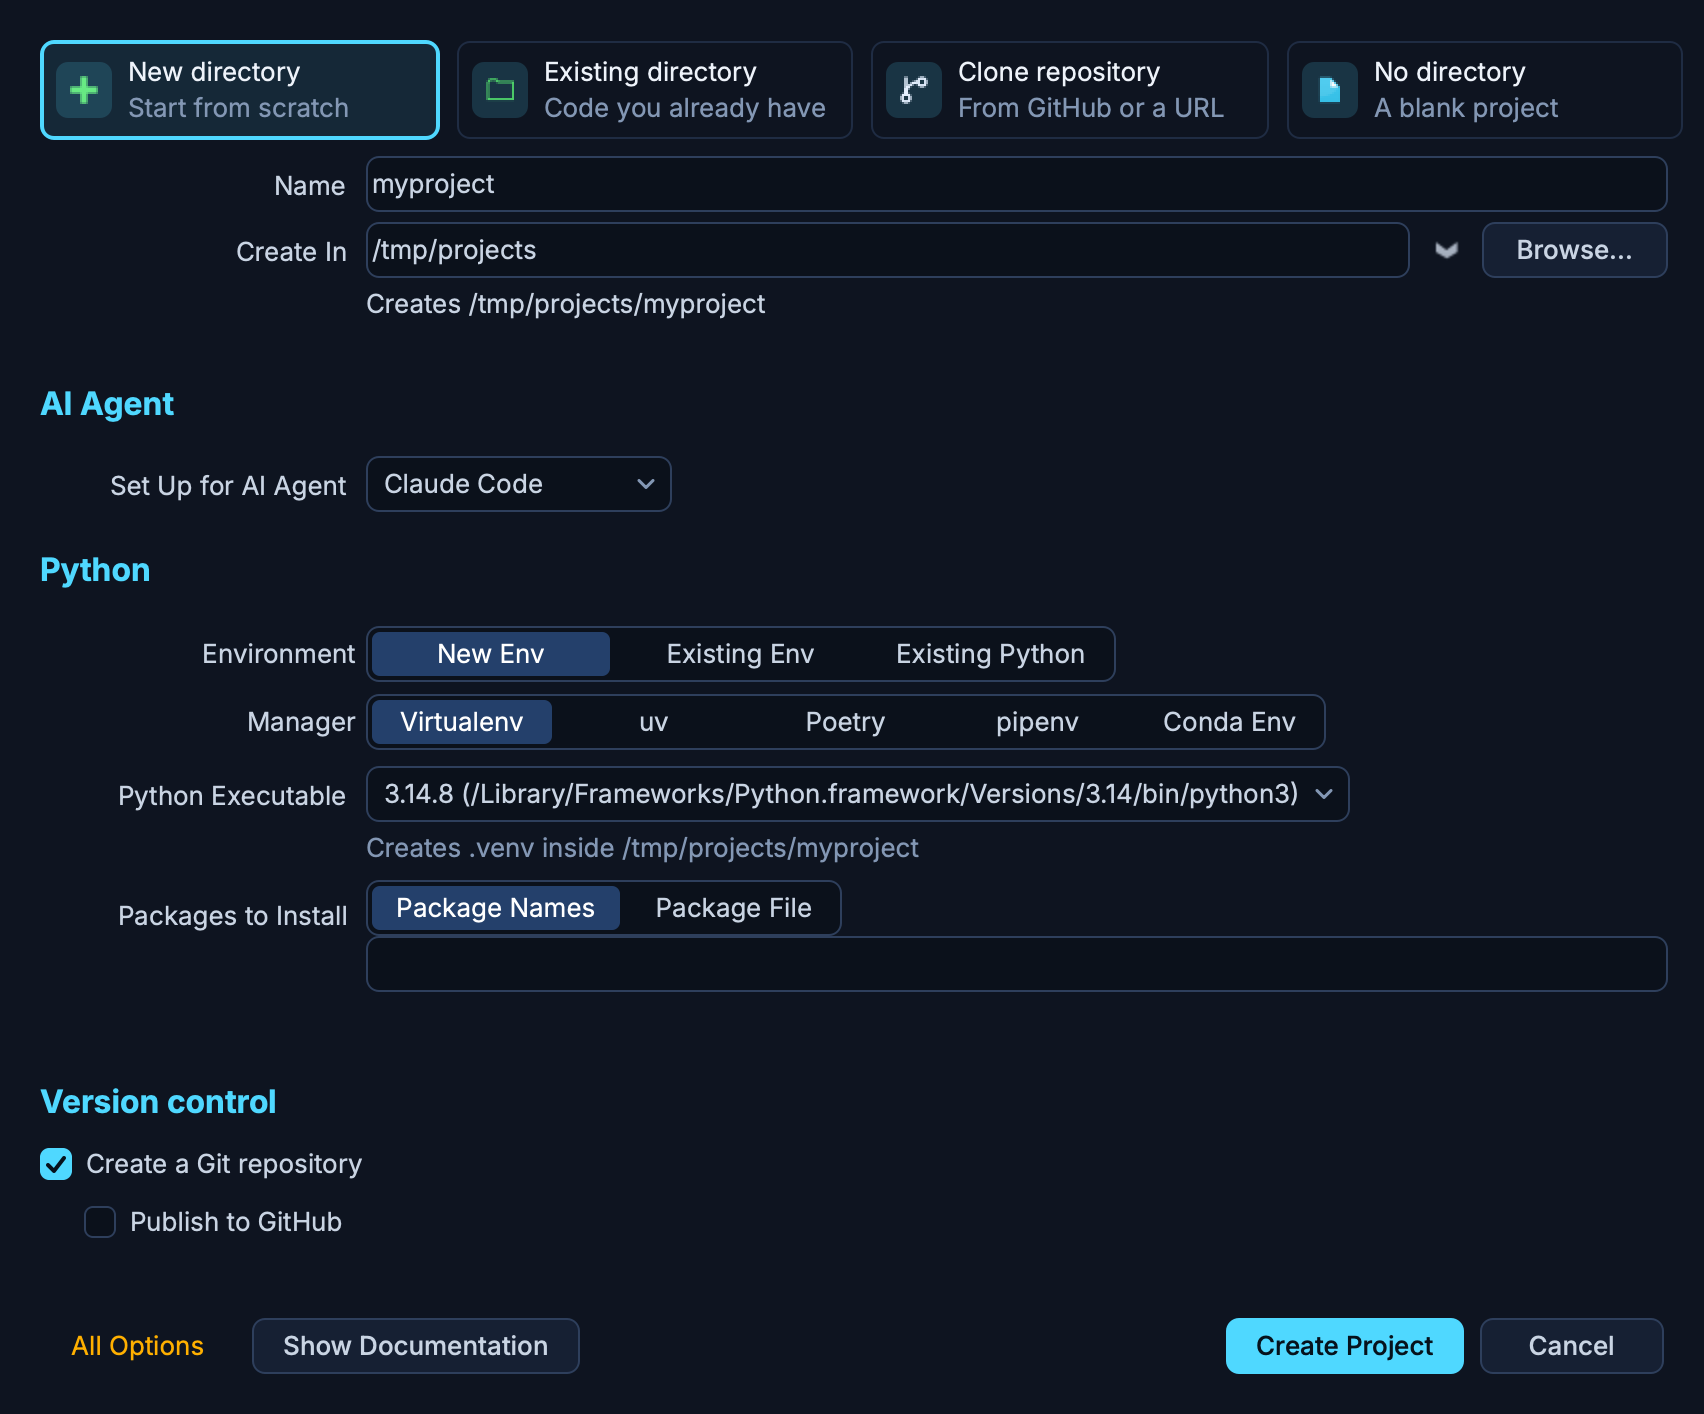
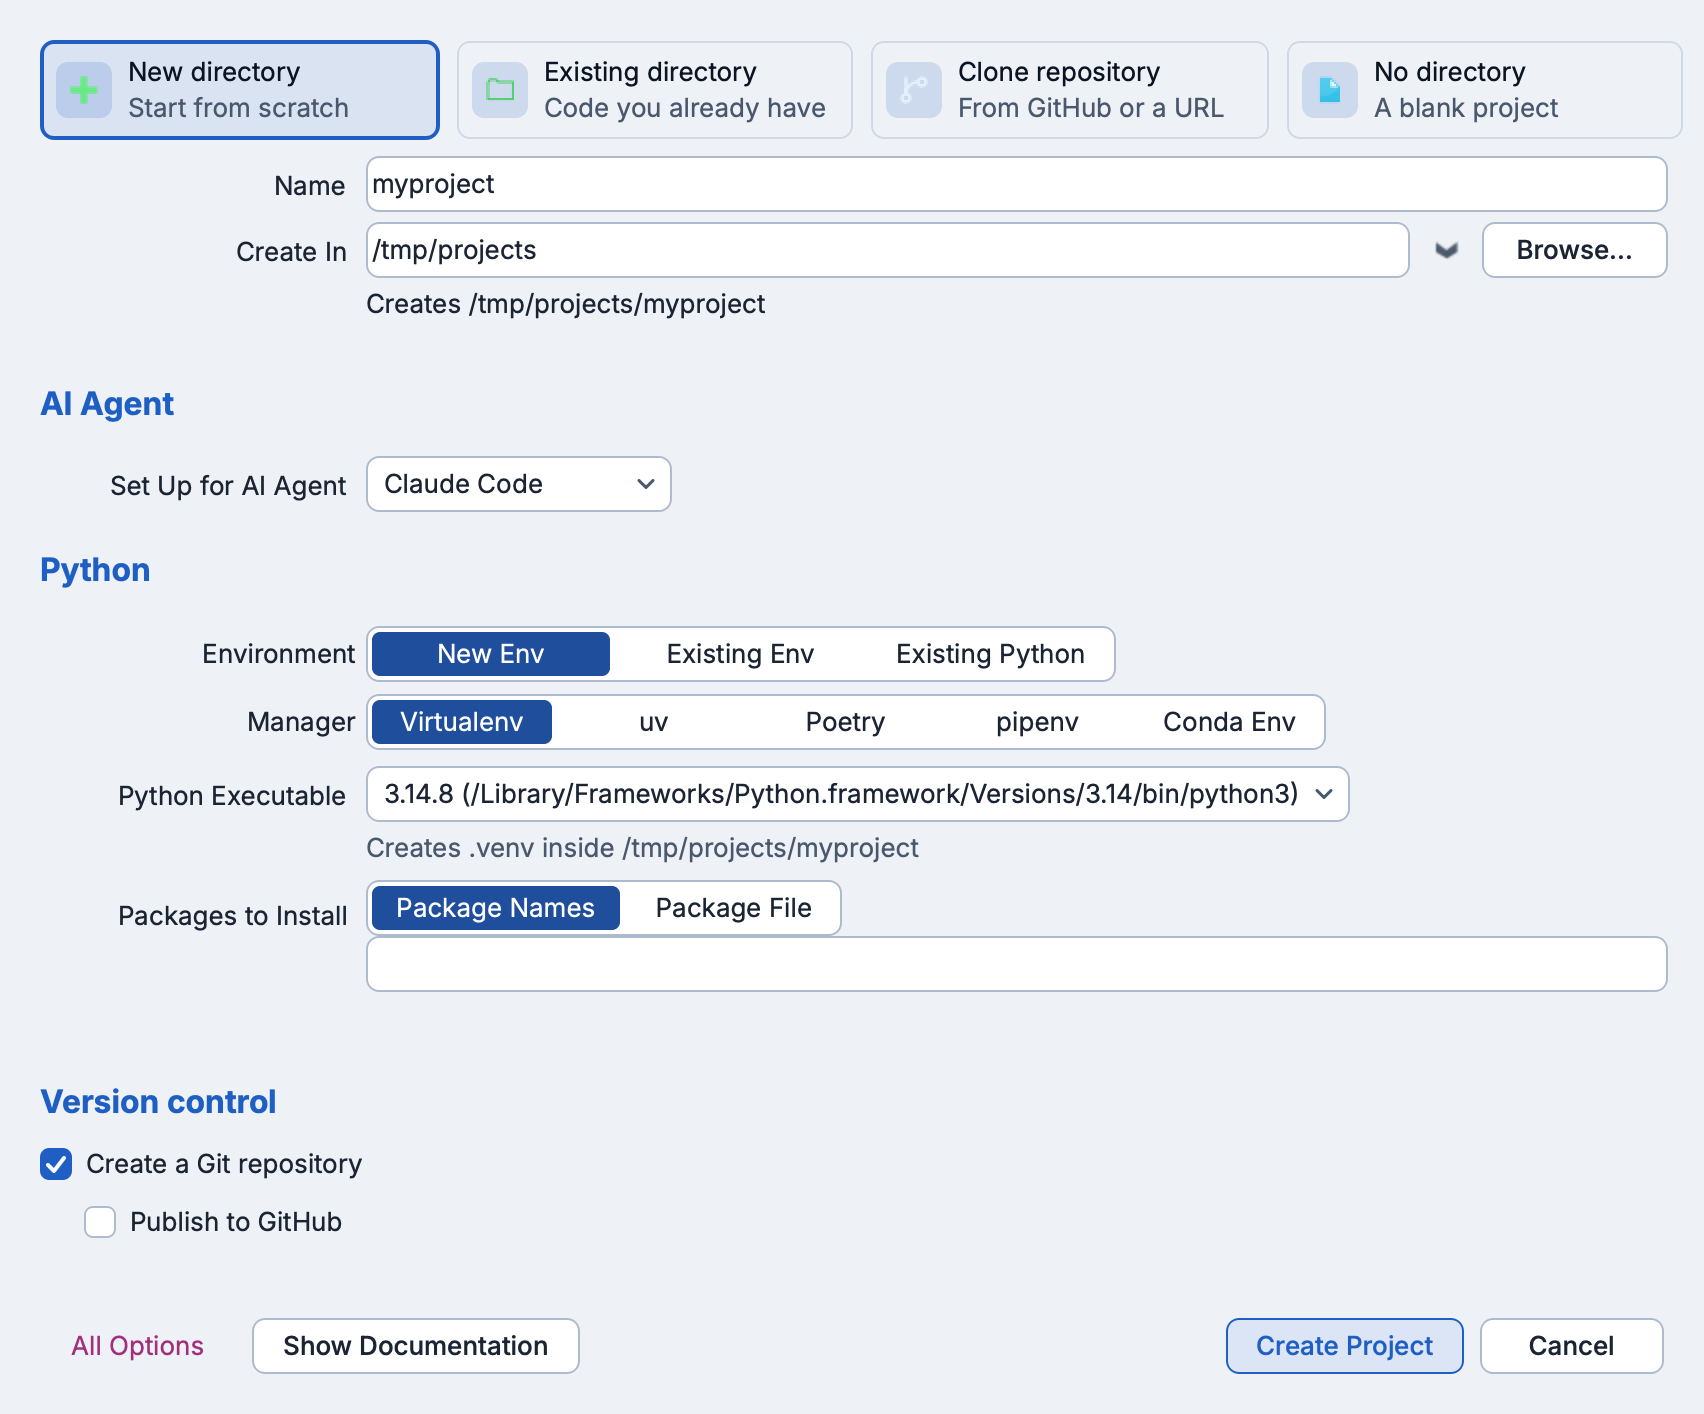
Then press Create Project. Wing shows each step of creating the project as a checklist, and you can press Retry if a step fails.
Alternatively, choose Existing directory for code you already have. If it isn't under version control yet, ask your agent to set up a repository once the project is created. Clone repository clones from GitHub or another git or Mercurial repository.
Setting up the project for an agent turns on the Tasks Manager and lets it commit autonomously. To change either, click All Options at the bottom left of the dialog and look under AI Agent for Autonomous Tasks Manager and Autonomous Commits. Wing also writes guides into a .wing directory that tell every agent how to work with Wing and your project, and points AGENTS.md at them.
(5) Check the Tasks Manager's settings. The Manager's bar is at the top of the Execute tab of the Tasks tool. To review or change its settings, click the settings icon at the right of that bar. They control task scheduling, agent permissions, and whether code is committed automatically:
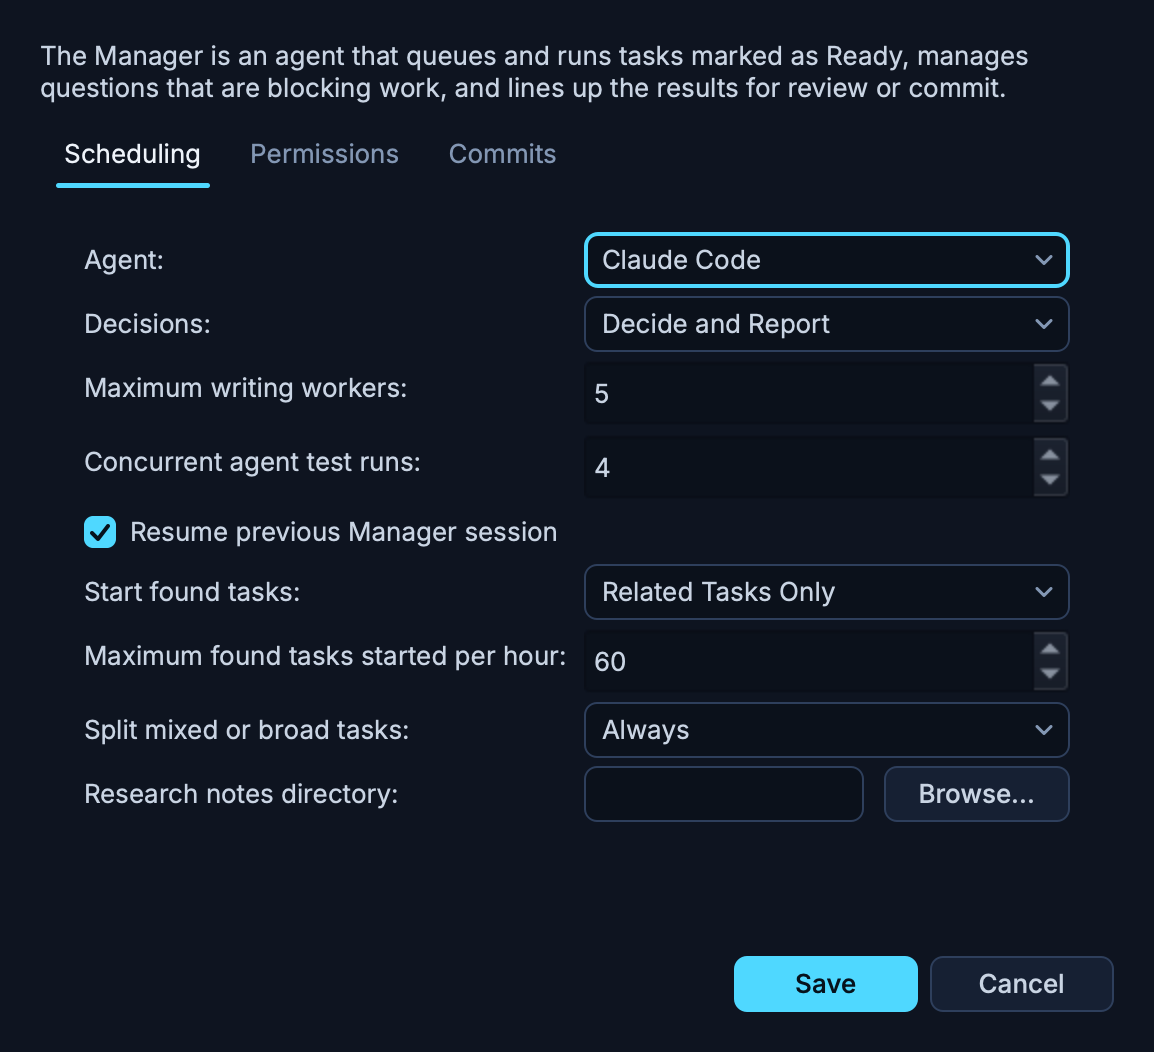
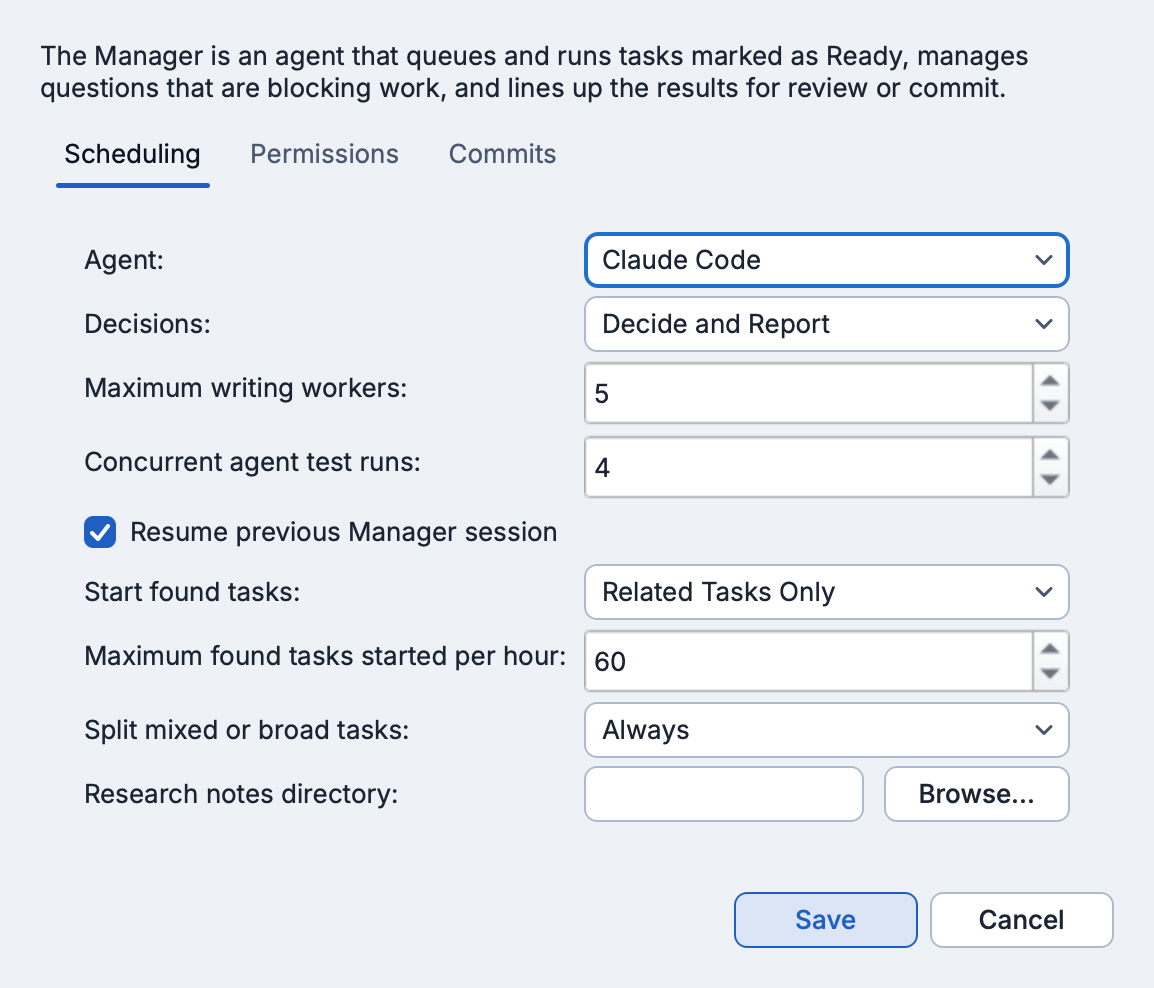
The default settings are a good place to start. Turning off automatic commits on the Commits tab keeps work from going on autonomously for long periods, since uncommitted work holds up later tasks that touch the same files until you review and commit it. We recommend leaving it on. You can still look over every committed task on the Review tab and request any changes you want. See The Tasks Manager Agent for all of its settings and controls.
A project that wasn't set up this way, such as one created before you set up an agent or with Autonomous Tasks Manager unchecked, shows Turn On in the Manager's bar instead. Pressing it shows the same settings, with a Turn On button that starts the Manager.
(6) Write a specification or tasks. On the Plan tab of the Tasks tool, add one or more tasks and mark them Ready by clicking their Draft pill. A task can be anything from a bug report to a high-level specification for a whole new application. A specification should describe the purpose and key features, and any technical constraints that matter from the start, but it doesn't need to be detailed. It's fine to be unsure how some of it will work or be packaged. If you focus on what the code should do, the Manager researches and fleshes out the plan, asks you questions along the way, and writes out tasks on the Plan tab, ready to run. This works for an empty project as well as an existing one. See Usage Tips below for help getting good results.
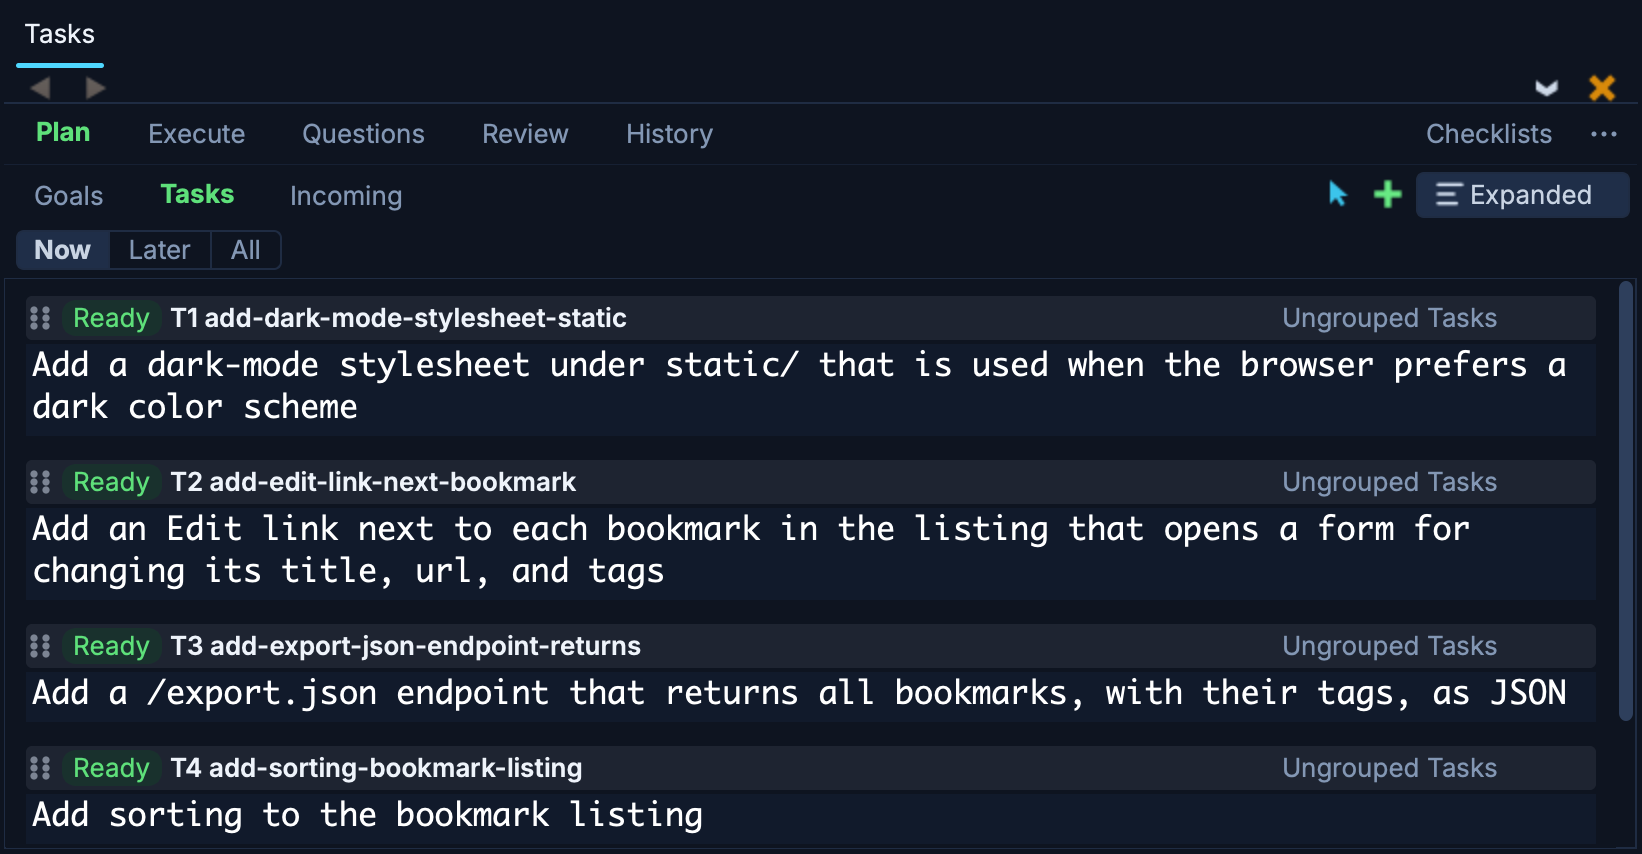
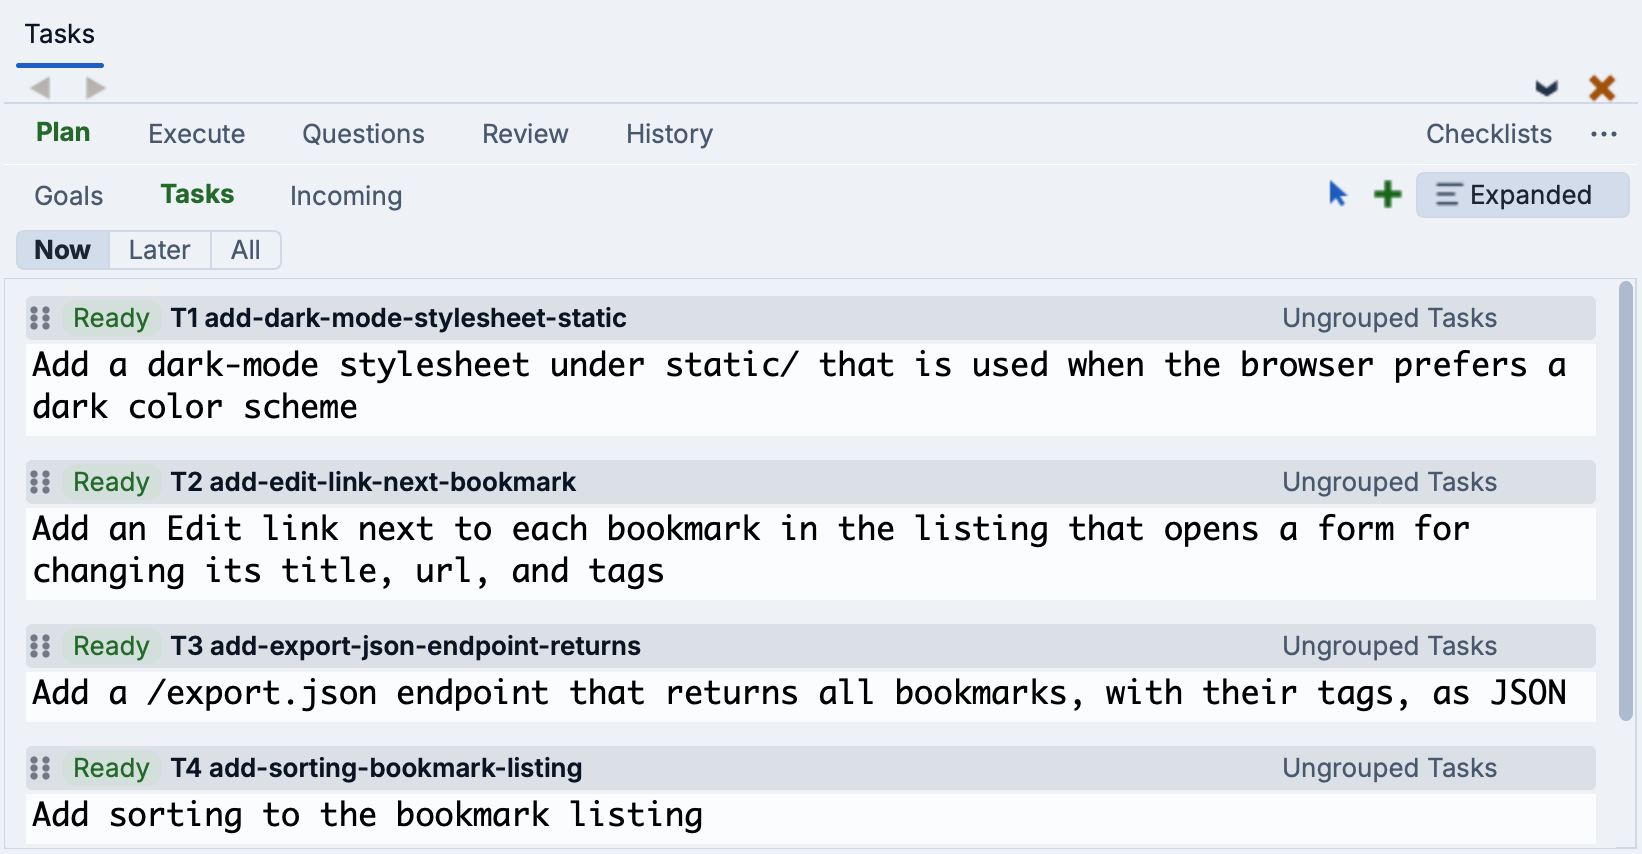
The Manager starts running tasks as soon as you mark them Ready. You can watch its progress on the Execute tab of the Tasks tool. The Queues view shows the tasks of one queue at a time; click a queue's name to watch its session in the AI Agent tool. The Up Next view shows what each queue is running and will run next, whether those tasks are already queued or still waiting on the Plan tab.
Problems that agents notice along the way, and follow-up tasks the Manager proposes, are added as drafts to the Found goal and the Incoming view on the Plan tab. The Manager runs closely related ones right away, and leaves the rest as a Draft. Review and edit them, mark Ready the ones you want done, use Research This to have an agent look into one without changing code, or dismiss those you don't want.
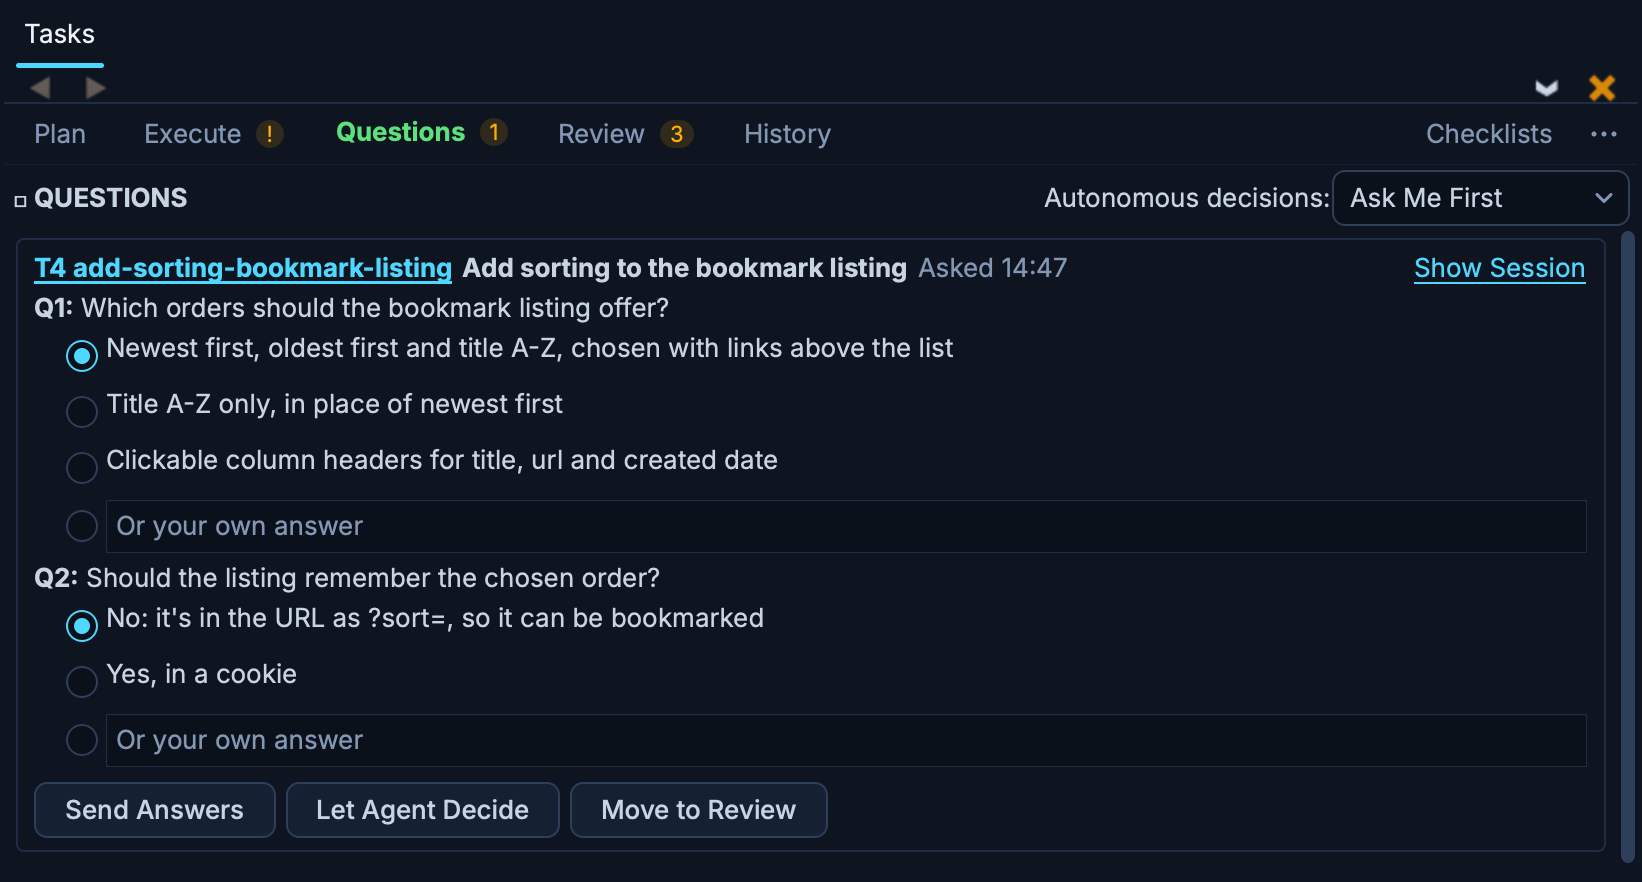
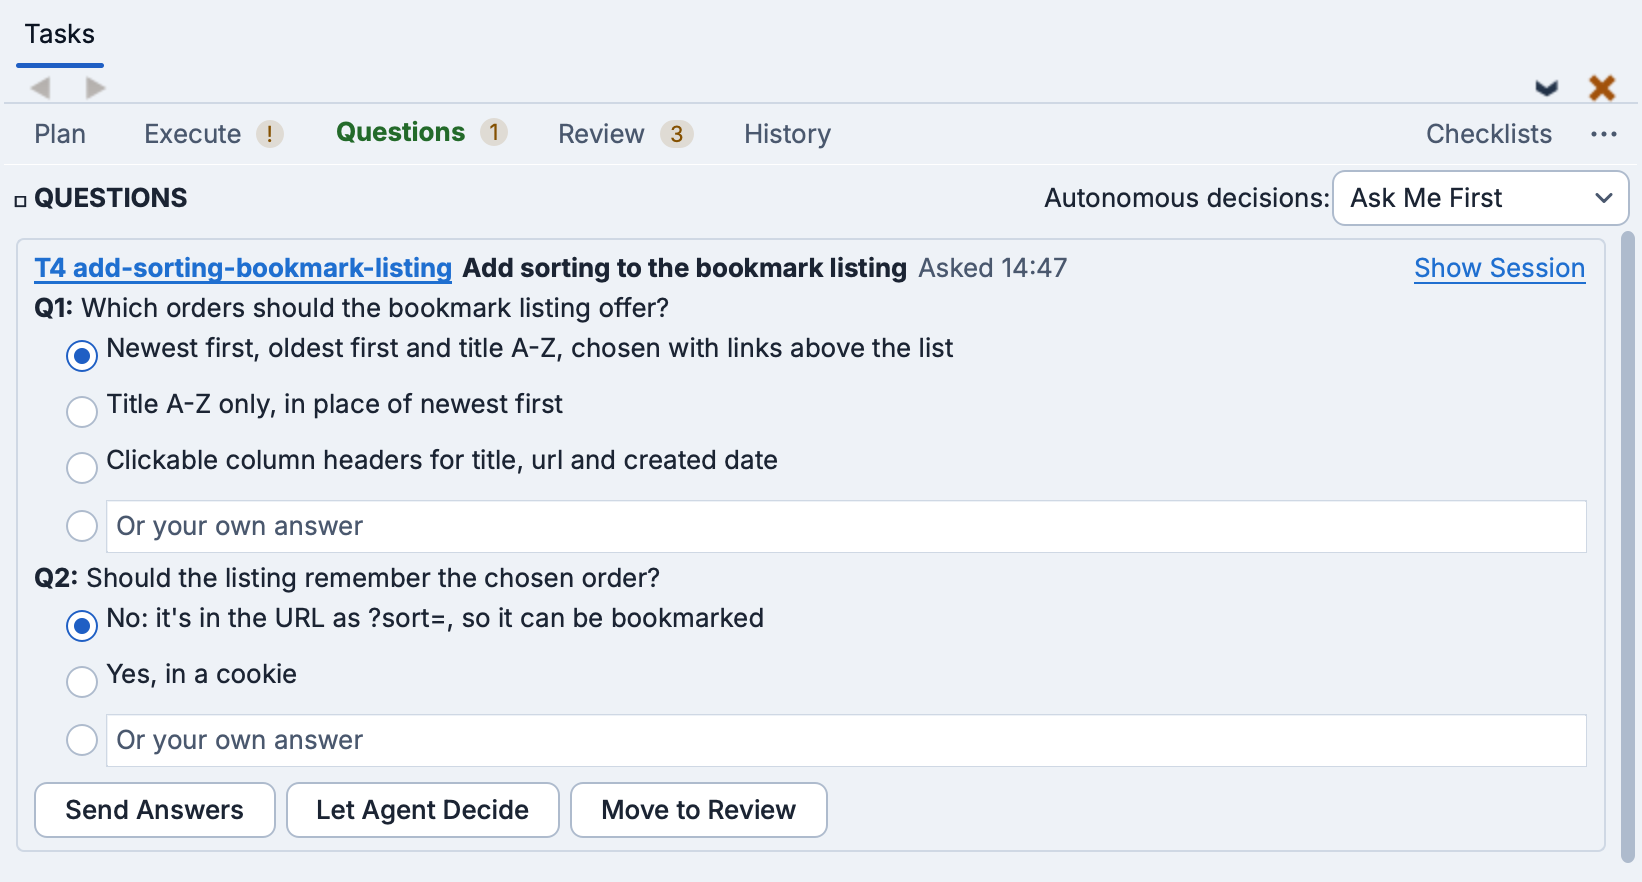
(7) Answer questions. The Manager uses the Questions tab to ask about anything holding up decisions and progress, with an orange count on the tab. Answer each question in place, or click Let Agent Decide, and then press Send Answers. The Manager answers some questions itself when its research finds the answer, and may start other tasks while one waits for you.
You can also talk to the Manager directly, by typing into Tell the Manager... on its bar or in its session in the AI Agent tool. Ask it about task status, tell it your preferred development workflow, or give it instructions such as "work autonomously but ask me first about anything that changes a file format." It can remember your instructions in a local memory, or project-wide in files that are committed and shared with other developers. To tell a running task something new, click Send Note on its row on the Execute tab.
(8) Review finished work. Finished tasks move from the Execute tab to the Review tab. Each reports a summary of the decisions and changes it made, with the reasoning and the alternatives it considered. If you commit work yourself, use Start Review to view and comment on the changes in a side-by-side diff, or Commit to commit them without detailed review. If the Manager committed the work, you can still read its report and use Revise to ask for changes to any of its decisions or to the task as a whole. Comments you add while reviewing code are addressed by the Manager or an agent.
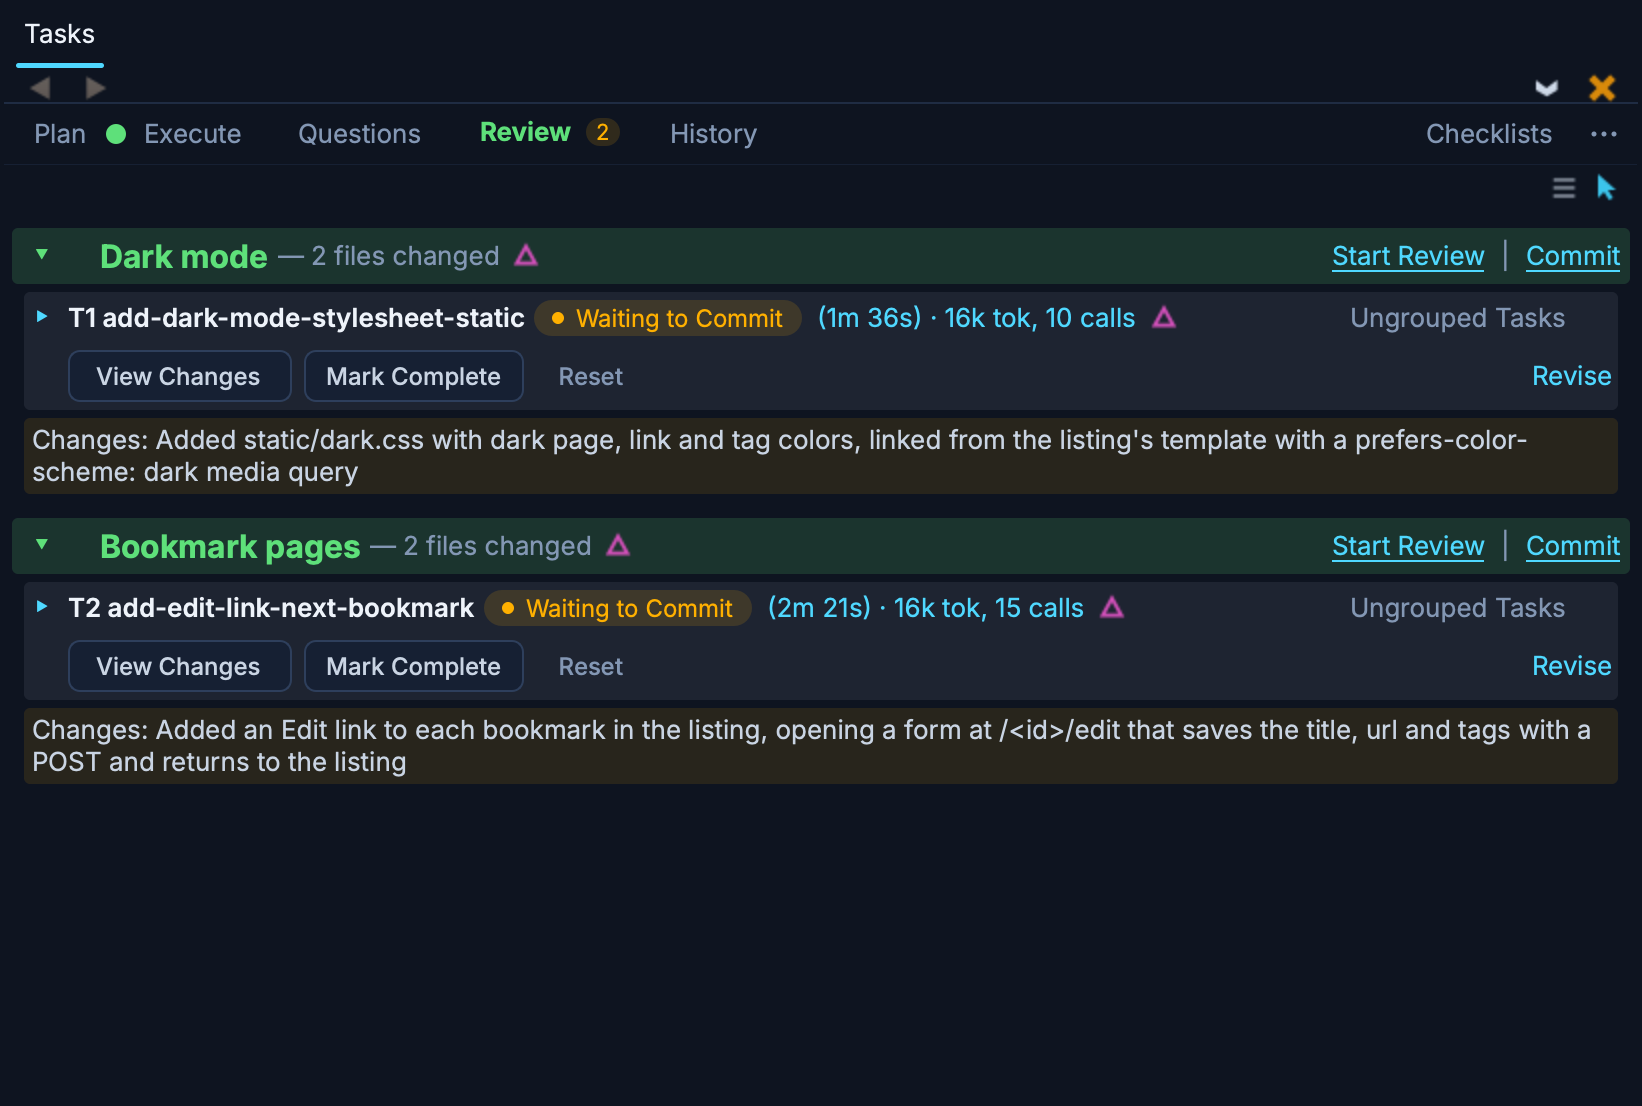
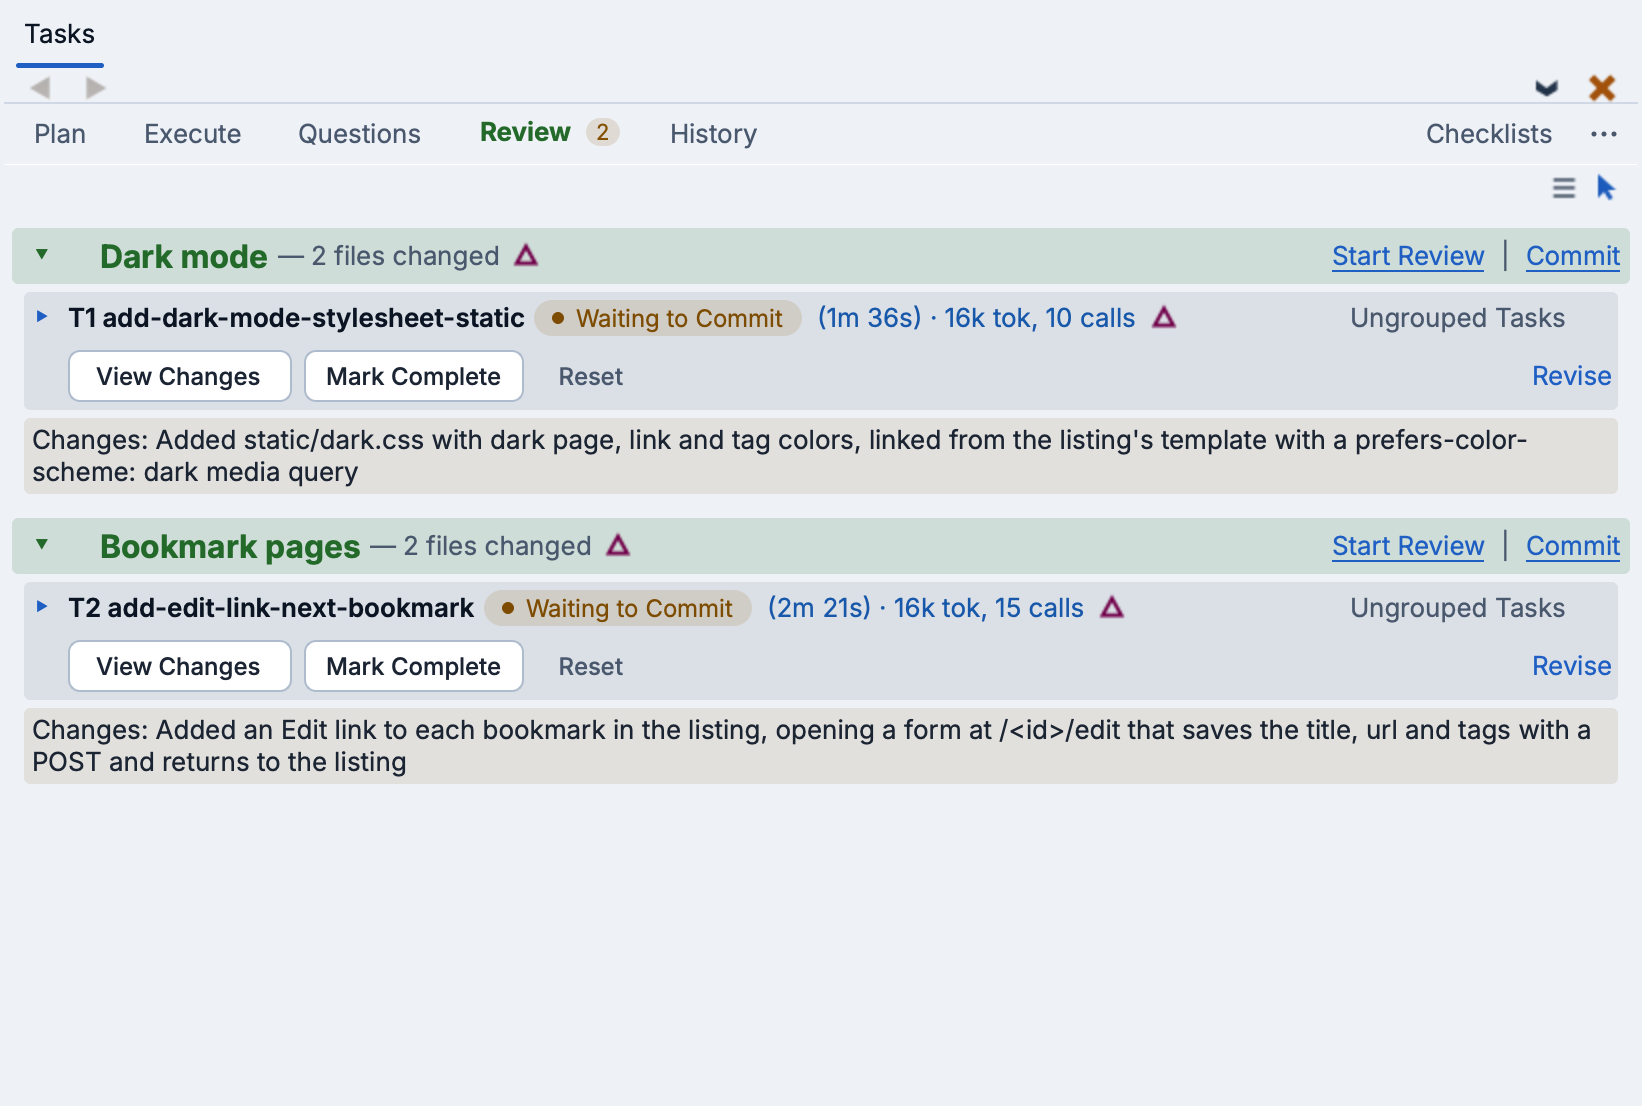
Research and planning tasks offer Read Report or Read Plan, and Make Tasks, which opens a dialog for choosing which steps of the plan become tasks. Its Save Draft button files them as Draft tasks on the Plan tab to run later, and Run Now has the Manager schedule and run them. See The Tasks Tool for details.
Moving to Autonomous Development
When to start using autonomous development is up to you. If you are new to agentic development, you may prefer to start with a single agent and review every change at the code level. Your comfort with this changes over time. Once agents write and run tests reliably for your project, and you find yourself committing after reading only a task's report, you are ready to move on to autonomous development. Your focus then shifts from individual agents and their output to specifying tasks, answering questions, and reading completion summaries, and you rarely if ever need to look at the code itself.
Usage Tips
These habits make autonomous development smoother and its results better:
- Treat the Manager like a development team by describing what you need rather than how to implement it. If something about the process is clunky, you don't know how to fit Wing into your existing workflow, or you aren't happy with some part of your application but don't know what to change, ask the Manager for help. It can investigate and solve most problems, much as an experienced developer would.
- Let agents see your application by running it the way an end user would. Ask the Manager early on to set this up for your application and toolkit. If you are writing a GUI application, also ask for test windows to be shown offscreen, so you can keep working while agents run tests.
- Make sure agents write tests for new code. Without tests, a worker can't tell whether its code works, so autonomous work produces inaccurate results and may stall. The Testing Regimen on the AI Agent tab of Project Properties tells agents when to write and run tests.
- Schedule review passes at key points, as separate tasks that look for security flaws, data loss bugs, gaps in test coverage, missing functionality, compatibility problems between versions, or anything else that matters to you. Each one can turn up issues that become new tasks, which agents then fix.
- Commit automatically on a separate branch. If the Manager commits on its own, development can go on for long periods without waiting for you. Putting that work on a separate branch lets you review it more deeply before merging it into your main branch. Checklists in the Tasks tool can set up those deeper reviews to recur.
- Describe your workflow and policies on the AI Agent tab of Project Properties, whose pre-approvals decide what agents may do without asking, in the Manager's settings from the settings icon on its bar, and by talking to the Manager on its bar or in its session in the AI Agent tool. To share policies with other developers, ask it to write them to AGENTS.md; otherwise, ask it to write a local memory. The Manager learns over time, and work goes more and more smoothly. See Configuration for details.
- Use the application yourself as much as you can, and add tasks for the bugs and improvements you find. This adds to the agents' own testing, especially for how the application feels to its users.
In each case, build tests and cross-checks into your process, so agents can see the results of their own work and correct their own mistakes. In autonomous development the work is done by many agents, each checking and building on the work of others. See Using AI Agents Effectively for more guidance.
Limitations
AI agents are not yet supported for projects that run Python in a container or cluster. Please let us know at support@wingware.com if this is an issue for you.
Related Documents
For more information see:
- AI Agent-Assisted Development documents Wing's AI agent features in detail, including AI Agent Safety, Setting Up an AI Agent, The Tasks Manager Agent, and Using AI Agents Effectively.
- Using Wing with an AI Agent describes the AI agent features and workflow common to all agents.
- The Autonomous Tasks Manager in the Tutorial walks through running tasks with the Manager.
- The demos on Wingware's website are complete projects built with the Tasks Manager, each with its code and a record of every task the Manager ran to build it.
- Wing Reference Manual documents Wing in detail.