 Wingware
Wing Tips: Using Wing Pro for Remote Python Web Development
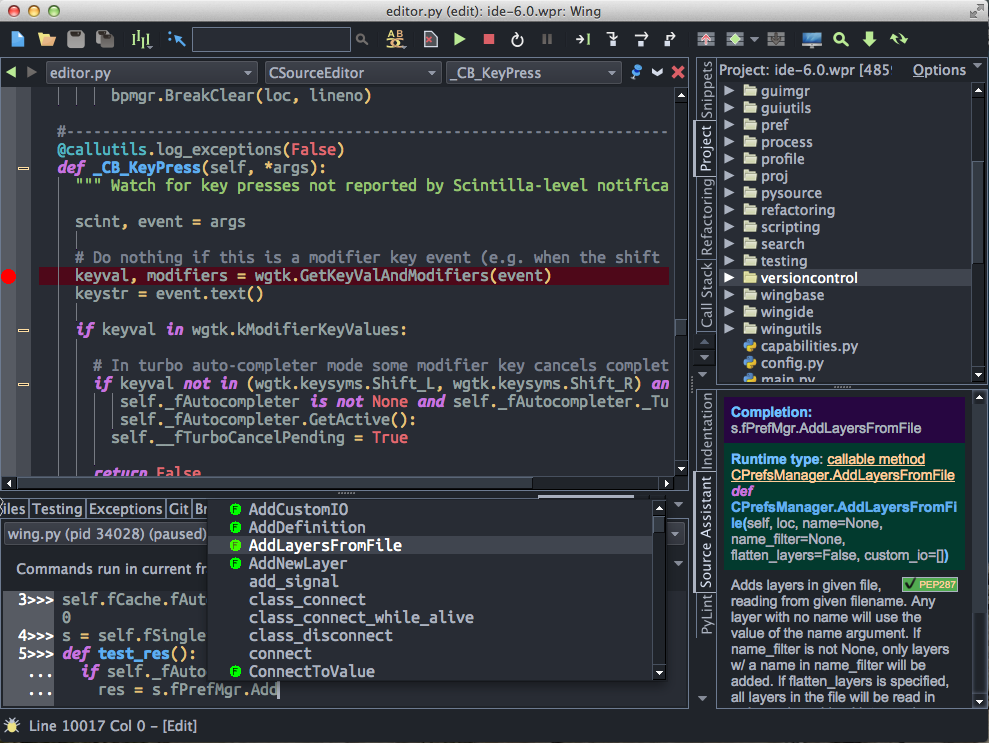
Wing Pro is a Python IDE that can be used to develop, test, and debug websites running on a remote server, VM, or other system where an IDE cannot be installed. Debugging takes place in the context of the web server or web framework, as code is invoked by browser page load. Wing provides auto-completion, call tips, find uses, and many other features that help you work with Python code.
If you do not already have Wing Pro installed, download it now so that you can follow along with the configuration steps described below.
This article focuses specifically on how to configure Wing for remote web development. If you want to know more about Wing's features in general, please refer to the Tutorial in Wing's Help menu or read the Quickstart Guide.
See also Web Development How-Tos for configuration tips for specific web frameworks, such as Django, Flask, and others.
Setting up SSH Access
Wing Pro's remote development support assumes that you have already set up password-less remote access to the remote host. This means that you should have your SSH key loaded into the SSH agent so that you can type ssh hostname or equivalent on the command line to connect to the remote host without entering a password.
If you don't already have this working, see SSH Setup Details for instructions.
Installing the Remote Agent
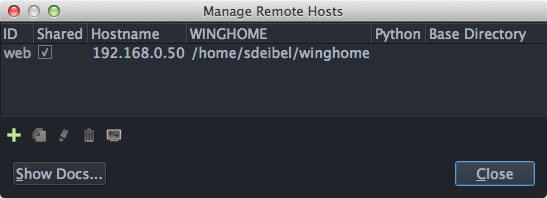
The next step is to set up a remote host configuration from Remote Hosts in the Project menu. Press the + icon to add a new remote host configuration.
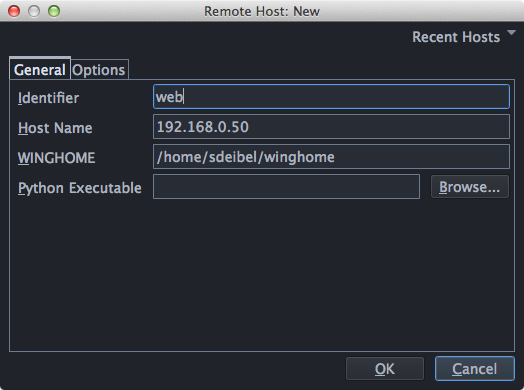
You will need to choose an identifier that Wing will use to refer to the host, enter the hostname (optionally in username@hostname form) and specify where on the remote host you want Wing to install its remote agent (this directory is referred to as WINGHOME). You will only rarely need to specify any of the other values in a remote host configuration. For now, leave them blank. For example:
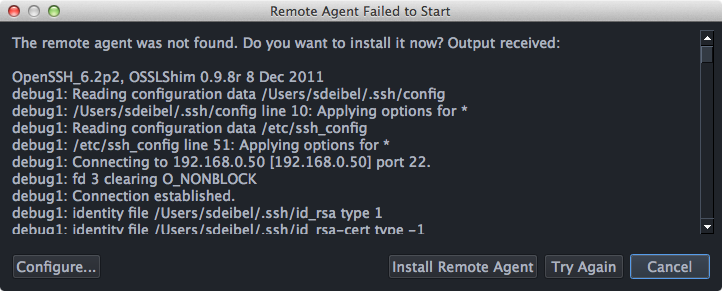
Once you submit the dialog for creating the configuration, Wing will try to probe that remote host. It will fail and then prompt to install the remote agent like this:
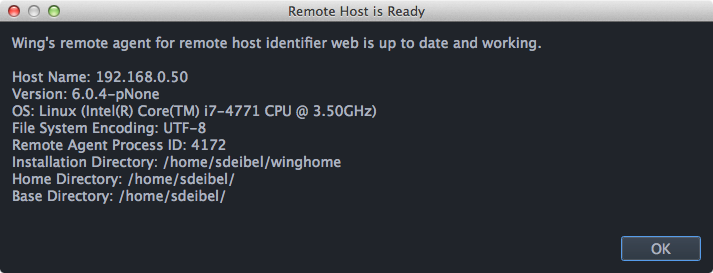
Press Install Remote Agent. After the installation is complete, Wing probes again and should show a success dialog with some information about the remote host:
Next return to the Remote Hosts dialog and click on the checkbox under Shared. This specifies that the remote host configuration you've just created should be shared by all projects, so that it isn't just stored in the currently open project:
Setting up a Project
Now it's time to set up a project that accesses your files on the remote host. To do this, select New Project in the Project menu and use the Generic Python project type:
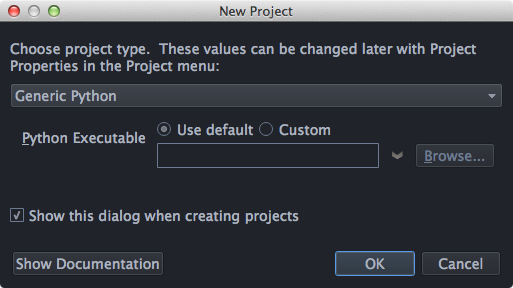
There is also a project type for remote projects, but let's use the Generic Python project type so that you will see where the relevant configuration takes place.
Click OK to create the project, and then go into Project Properties from the Project menu. Set the Python Executable to Remote and select the remote host you've just configured:

Next add your files to the project with the Add Existing Directory item in the Project menu. Press the Browse... button next to the Directory field to display a dialog that browses the file system on the remote host. Go into the directory you want to add and press Select Directory.
Wing will spend some time scanning the disk and analyzing files but you should already be able to open and edit source files stored on the remote host by double clicking on them in the Project tool.
Starting Debug
There are two ways to start debug on your remote host: (1) In some cases, you can launch your web framework directly from the IDE, which uses its remote agent to run your code on the configured remote host, or (2) in many cases the web server or web framework is started from outside the IDE, so debug needs to be initiated from the outside.
You may already know which of these options you need to choose. If not, look at How-Tos for Web Development to see if there are configuration tips for your web development framework.
Launching From the IDE
If you can launch your web framework from the IDE, just open the Python file that serves
as its main entry point, select Set Current As Main Debug File from the Debug
menu, and start debugging with Debug/Continue in the Debug menu or by using the
 icon in the toolbar.
If you need to add some command line arguments to pass to your code, right click on the main debug file, select Properties, and enter the arguments under the Debug/Execute tab.
Externally Launched Code
For cases where you can't launch your debug code from the IDE, Wing provides a module wingdbstub.py that you can import to initiate debug.
When you installed the remote agent above, Wing wrote a preconfigured copy of wingdbstub.py to the WINGHOME directory you specified in your remote host configuration. Copy that file to the same directory as your code and add the following to your code before it reaches anything you'll want to debug:
import wingdbstub
Next tell Wing to listen for connections from an externally launched debug process. This is done by clicking on the bug icon in the lower left of Wing's window and checking on Accept Debug Connections:

If you hover the mouse over the bug icon, Wing shows that it is listening for connections, both on the local host and on the configured remote host:

Note: If you are using apache or your code runs as a user that is different from the one used in your remote host configuration, you'll need to adjust permissions on some files as described in the section Managing Permissions below.
Debugging Code
Now you can set some breakpoints by clicking on the breakpoint margin to the left of your code. For example:

Once this is done you can point your browser at a web page that executes code with a breakpoint, and Wing should stop on it:

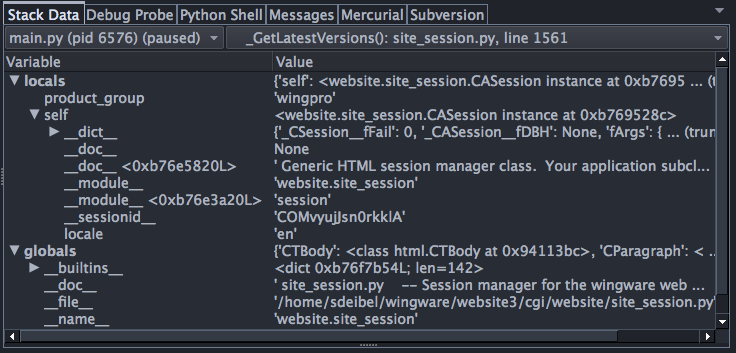
Use Stack Data in the Tools menu to view the stack and debug data:
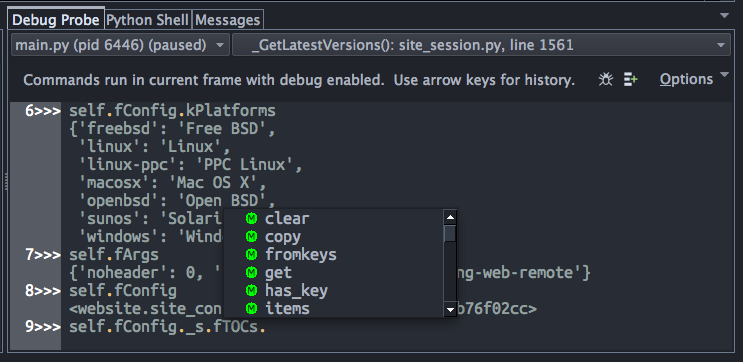
Or just interact with the Debug Probe tool (also in the Tools menu), which is an auto-completing Python command shell that runs within the current debug stack frame:
This technique should work with any web development framework. See Web Development How-Tos for details on using Wing with specific frameworks.
Managing Permissions
If you are debugging code that is running under Apache or another web server, the code is being run as a user that may not be the same as the one you used when installing the remote agent. For example, your remote host configuration may set Hostname to devel@192.168.0.50 while the code is actually run by the user apache.
In this case, Wing will not accept the debug connection because the security token from the user running the code does not match what Wing is expecting from the way it installed and configured the remote agent.
To solve this, go into the WINGHOME where you installed the remote agent and change the permissions of the file wingdebugpw so that the user running the code can also read it. For example, if both your users are members of the group webdev then you can do this:
chgrp webdev wingdebugpw
A less secure solution is just to change the permissions of this file so everyone can read it:
chmod 644 wingdebugpw
The disadvantage of this approach is that other users could potentially use the contents of this file to connect to your instance of Wing against your will.
Resources
- Web Development How-Tos contains instructions for using Wing with specific web development frameworks, such as Django, Flask, Pyramid, web2py, and others.
- Remote Hosts documentation provides details for configuring Wing Pro to work with remote hosts.
- Quick Start provides an introduction to Wing's features.
- Tutorial takes you through Wing's features step by step.
- Wing Reference Manual, which describes Wing in detail.