 Wingware
Using Wing with Antigravity

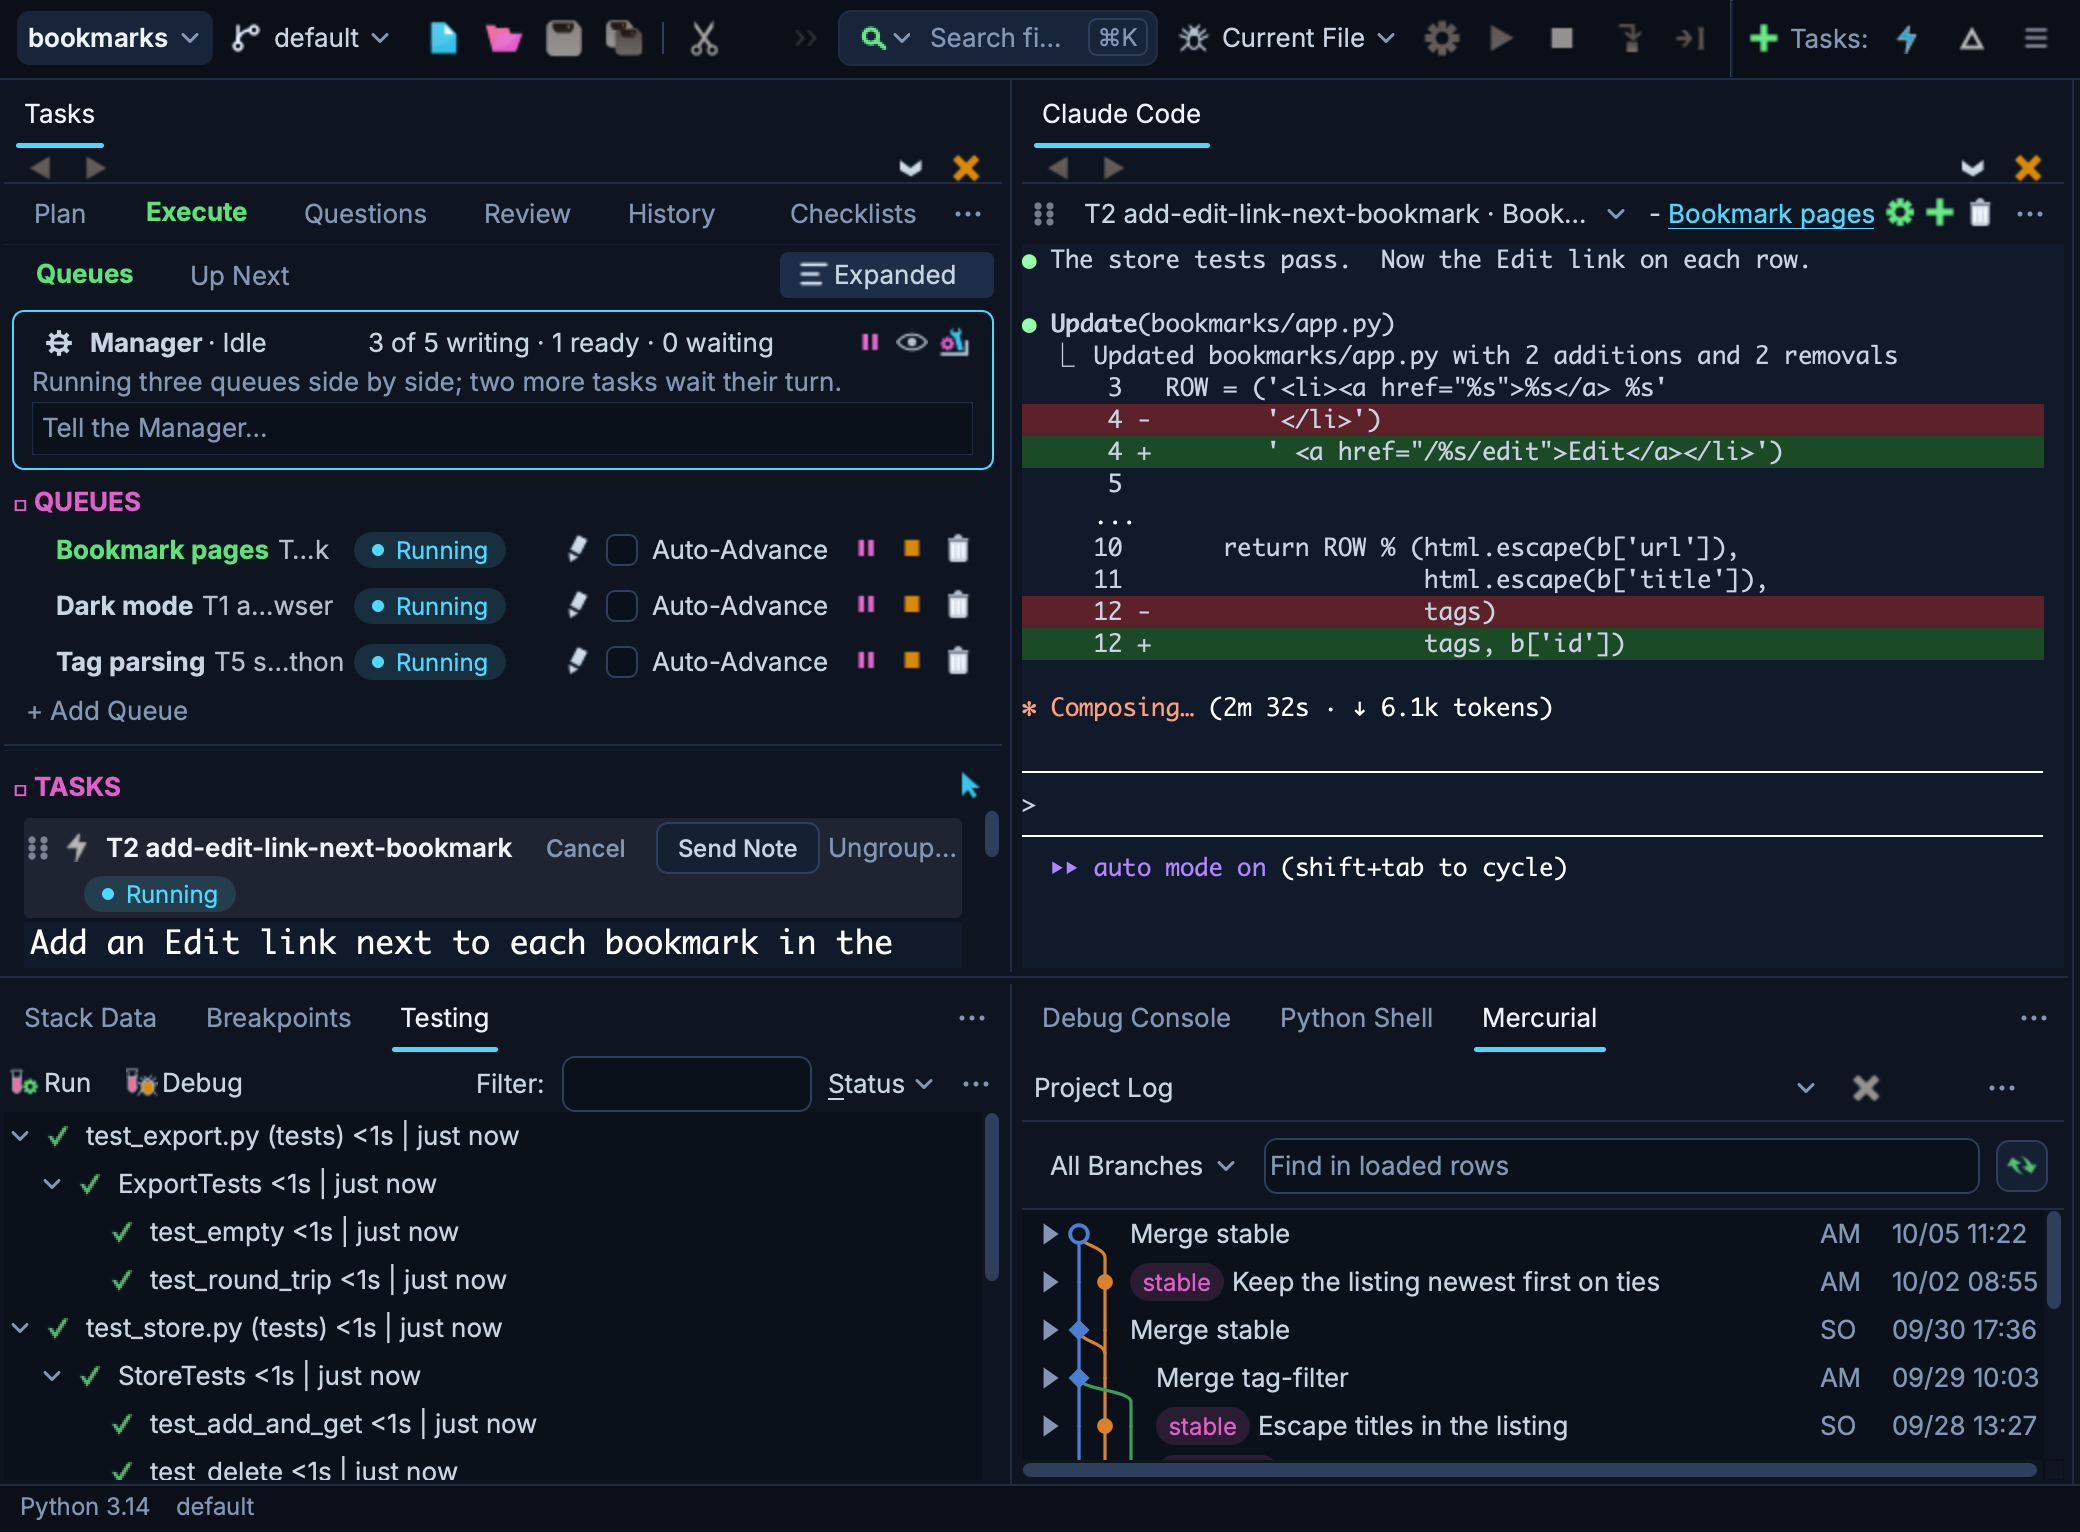
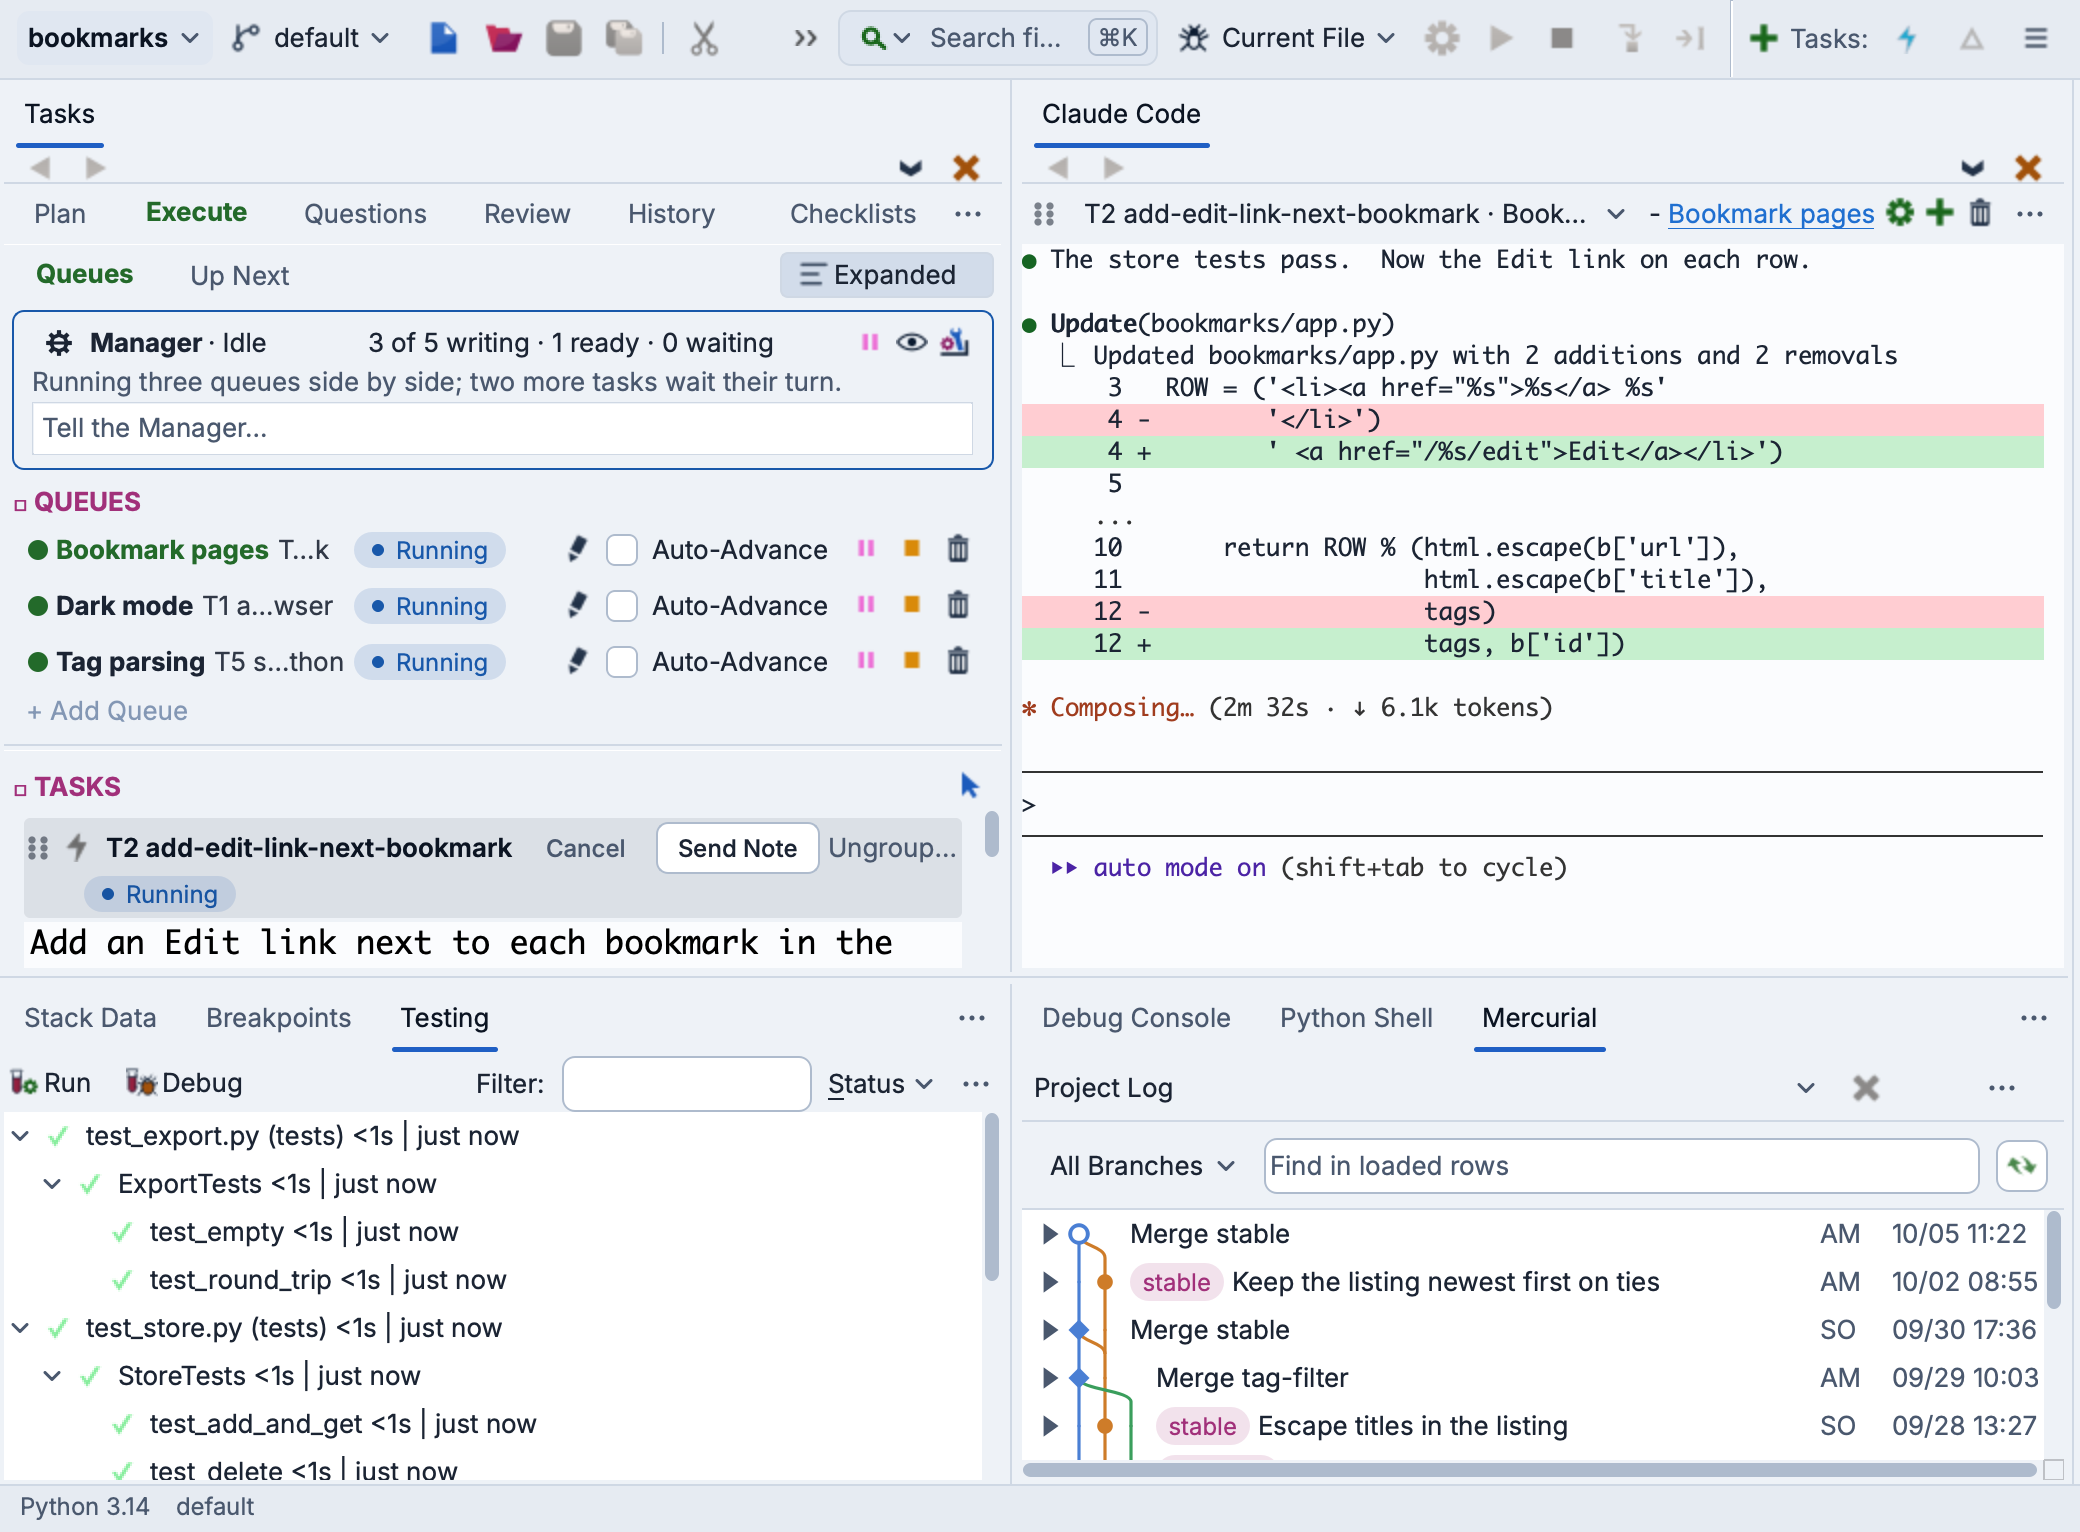
Wing Pro 12 integrates Antigravity, Google's AI coding agent with the IDE. You can run Antigravity in Wing's AI Agent tool, use the Tasks tool for queueing, tracking, and reviewing agent work, ask the agent to fix failed tests, debugger exceptions, or code warnings, or use the agent to better understand code and run code reviews.
Wing uses the Model Context Protocol (MCP) to give the agent access to the IDE's analysis, debugger, testing, and version control features, allowing it to work more efficiently on most complex coding problems.
If you do not already have Wing installed, download it now.
This How-To covers what Antigravity itself needs and how to set it up in Wing. The workflow that follows is described in Using Wing with an AI Agent.
Antigravity is functional, with some safety concerns: it runs the Tasks Manager only in an Auto-Approve that does no safety checks. See the table in AI Agent Safety, which compares the agents' safety and suitability for autonomous development.
Prerequisites
Antigravity can be installed as described on its download page. Its CLI can also be installed on its own. On macOS or Linux, use:
curl -fsSL https://antigravity.google/cli/install.sh | bash
On Windows, use PowerShell:
irm https://antigravity.google/cli/install.ps1 | iex
Wing runs the agy command's own terminal interface inside the AI Agent tool, which needs nothing more.
Once Antigravity has been installed, quit Wing and start it again so it picks up your updated PATH.
Quick Setup
To allow Wing to use Antigravity in your project, use Set Up for AI Agent > Antigravity in the Project menu. This opens a dialog asking for the top-level directory where you want the agent to run. This defaults to the Wing project directory, but can be changed. After you submit this dialog, Wing:
- authorizes use of Antigravity in this project
- writes the development guides that tell the agent about this project's conventions, testing regimen, and commit policy
- points AGENTS.md at those guides (creating it if it does not already exist)
- opens the Tasks and AI Agent tools side by side
You can do the same as part of the process of creating a new Wing project, with the Set Up for AI Agent option in the New Project dialog.
Note that you can also set up other agents in your Wing project, by running the same setup process for each.
For the files Wing writes into that directory, and which of them it keeps out of version control, see Setting Up an AI Agent.
Authentication
Antigravity requires a Google account or a Gemini API key.
To use a Google account, run agy once in a terminal and complete the sign-in. After that, sessions started in Wing will also use that account.
To use a Gemini API key instead, set "modelProvider" to "gemini" in ~/.gemini/antigravity-cli/settings.json and make GEMINI_API_KEY available in the environment Wing runs it in, for example from your shell profile or the Environment in Project Properties.
Advanced: ACP
Wing can also run Antigravity over the Agent Client Protocol (ACP), which Wing manages in its own AI agent conversation UI. This version is listed as Antigravity ACP only when the Show ACP Versions of Agents preference on the AI page under Projects in Preferences is enabled, or while you hold Shift with an agent menu open. It is not recommended: it has no read-only Plan mode, and a task can hang when its model is overloaded.
Antigravity ACP needs Antigravity's separate ACP server, since the agy command does not speak ACP. Google publishes that server through the Agent Client Protocol registry rather than from its own download page. The registry index at https://cdn.agentclientprotocol.com/registry/v1/latest/registry.json lists a download for each platform under the antigravity-acp entry. Download the archive named there for your platform and unzip it into a directory of its own. It holds two files, agy_acp_server.par and localharness_external, which must stay side by side. Either add that directory to your PATH, or link the server onto it as agy_acp_server. For example, on macOS or Linux:
mkdir -p ~/.local/lib/agy-acp
unzip <archive>.zip -d ~/.local/lib/agy-acp
ln -s ~/.local/lib/agy-acp/agy_acp_server.par ~/.local/bin/agy_acp_server
On Windows the two files are named agy_acp_server.exe and localharness_external.exe. You may need to add the directory you unzipped them into to your PATH.
To use a Gemini API key with Antigravity ACP, choose Configure Agents... from the AI Agent tool's Options menu (the ⋯ button), add a configuration for Antigravity, and point Wing at your key. If you have already logged into a Google account, Antigravity will ignore your Gemini API key. In that case you will also need to change ~/.gemini/antigravity-acp/settings.json to set "type": "gemini-api-key" for auth.
Next Steps
Once Antigravity is set up, you should be able to try it out in the AI Agent tool, manage tasks from the Tasks tool, and make use of Wing's other agentic development features.
For more information, see Using Wing with an AI Agent.
See also:
- AI Agent-Assisted Development -- the full reference manual.
- The AI agent chapters of the Tutorial -- a step-by-step walkthrough.